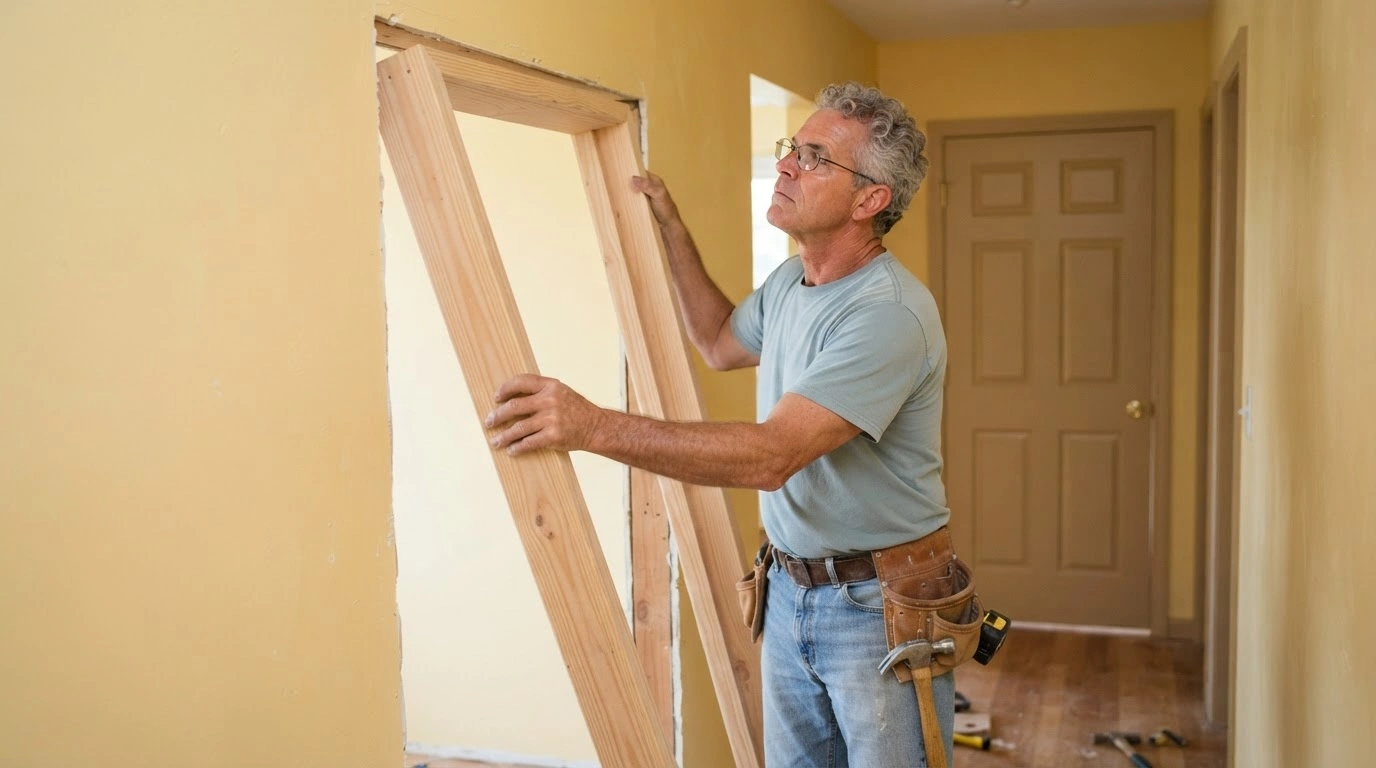
When a door frame is damaged, it can't hold the door safely, so replacing it becomes essential. There may also be other reasons to change the door frame, such as wanting to install a new door to give the home a fresh look. However, many people's main concern is whether to DIY or hire a professional. You can install a door frame yourself, but only after gathering the right information and following the proper installation steps. This blog provides detailed information on door frame installation, including the tools and materials required to complete the task.
List of Tools and Materials Needed:
- Drill/Driver and Bits
- Oak/Timber board
- Measuring tape
- Safety goggles
- Hand saw
- Tapered wood shims
- Hammer
- Power drill (Cordless)
- Spirit level
- Sand paper
- Hinges
- Concrete cement (Optional)
- Screwdriver
Steps to Install a Door Frame
Every step in door frame installation matters because even a single mistake can ruin the project. To avoid problems, follow this step-by-step guide.
Step 1: Take the Right Measurement
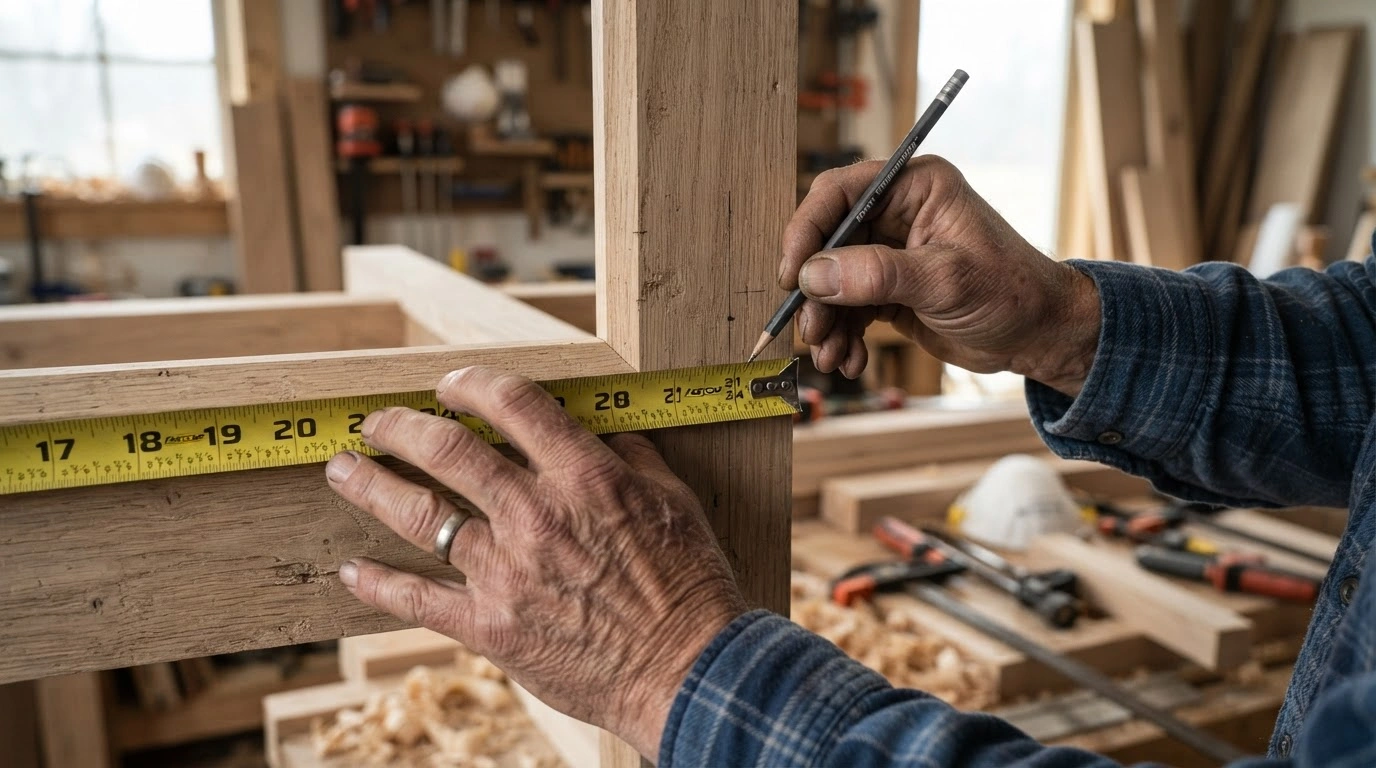
- Start the installation by taking accurate measurements of the frame’s height, width, and length, because door frames have different dimensions, though the standard width is 762mm for all doors.
- Then, measure the top, middle and bottom of the opening space, using the comprehensive measurement.
- Next, measure the space on the left, middle, and right sides of the opening, and use the widest measurement.
- Finally, mark the dimensions on the oak or timber piece.
Step 2: Cutting the Excess Timber
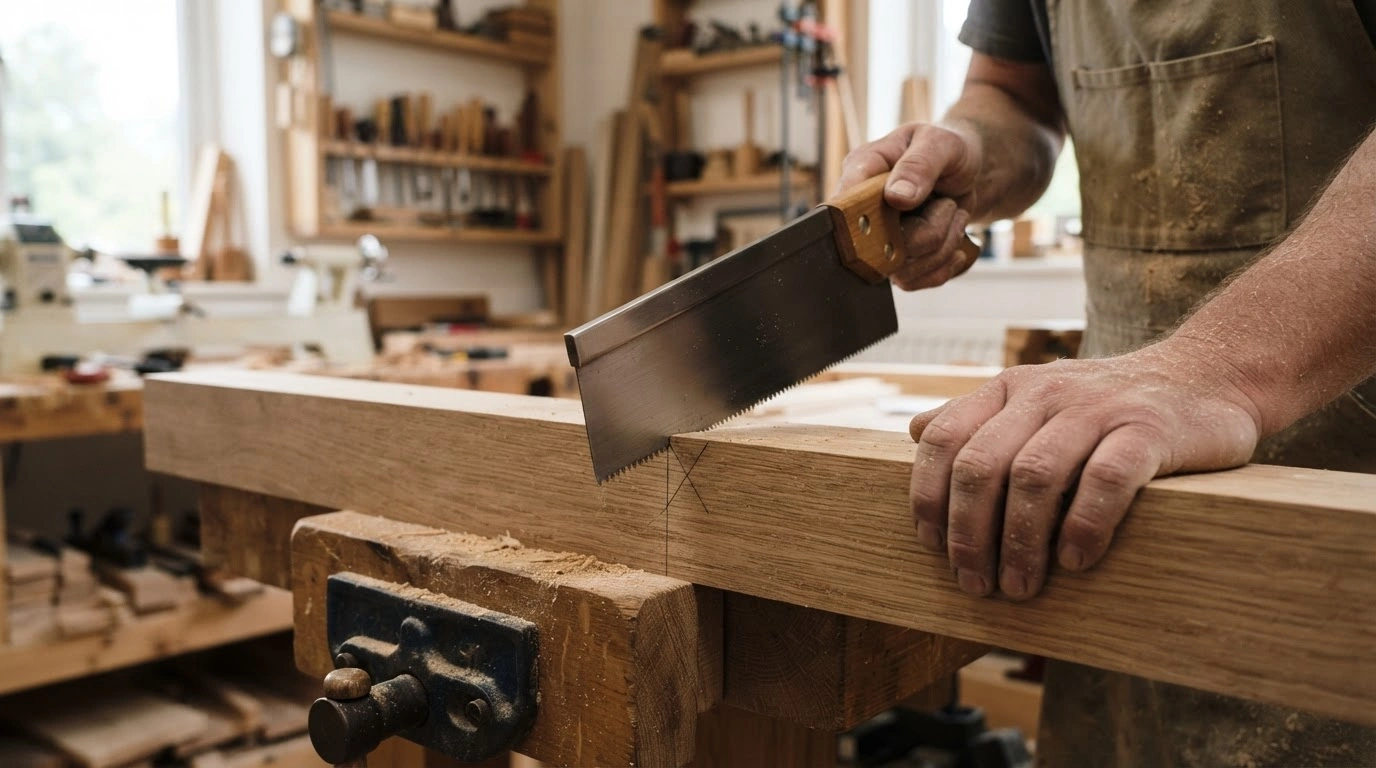
- Mark the measurements on the timber piece in a straight line using a pencil. Mark the excess timber and trim it.
- Once, the excess timber is cut from the marked places, saw off the overhang on each side of the head or lintel section of the frame.
- Make both jambs (the legs of the door frame are known as door jambs) using the same process.
- Once the head and jambs are ready, even out the edges of the head and side jambs using sandpaper.
Step 3: Assemble the Frame
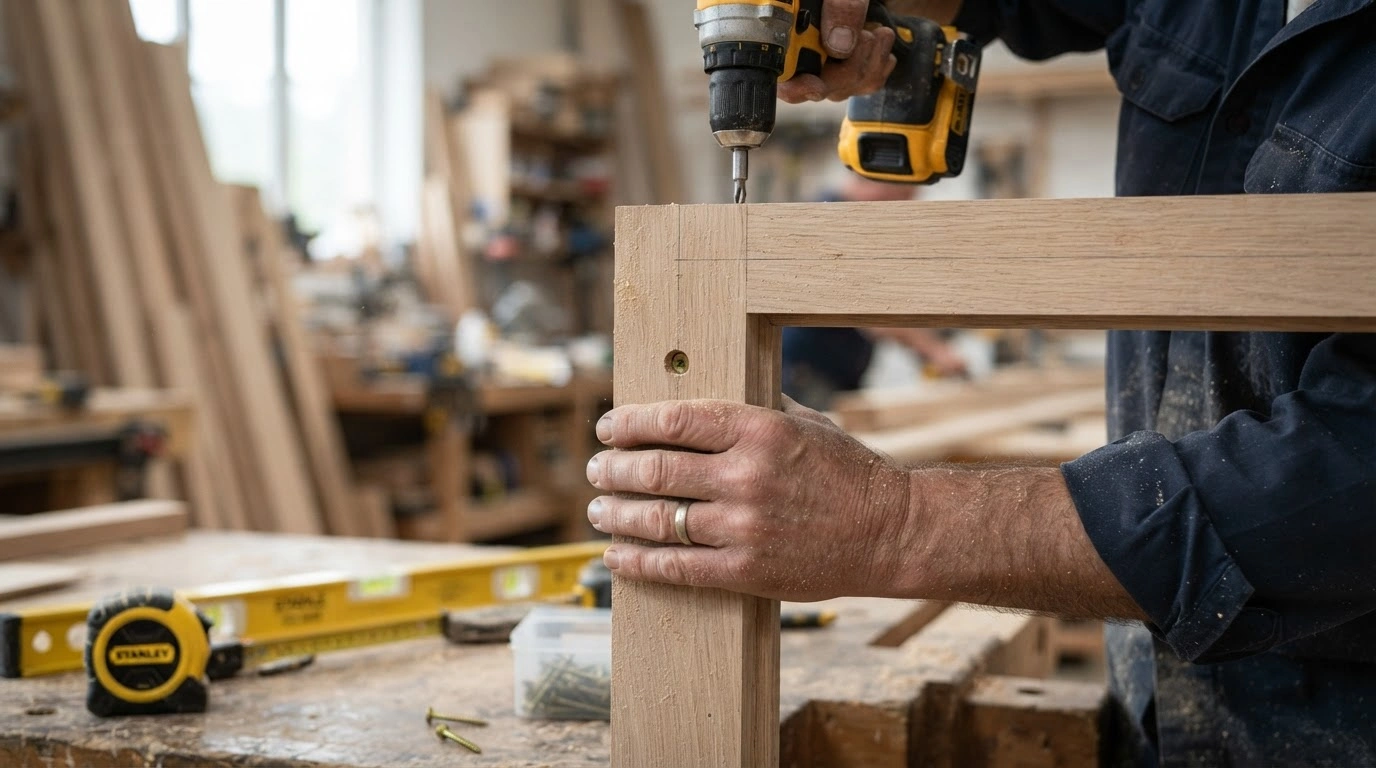
- Once the door frame is cut, fit it. Start by drilling holes into the timber using 3mm steel drill bits. This will help to fit the screws into place.
- Drill the screws through the lintel into the head of the frame to hold it in place. Now, shape up the frame’s head to size.
- Fit the jamb against the head of the frame, with the inside edge of the jambs against the pencil mark.
| Some Tips | It’s recommended to assemble the door frame on the floor first, as it is more convenient. |
Step 4: Check the Levelling of the Door Frame
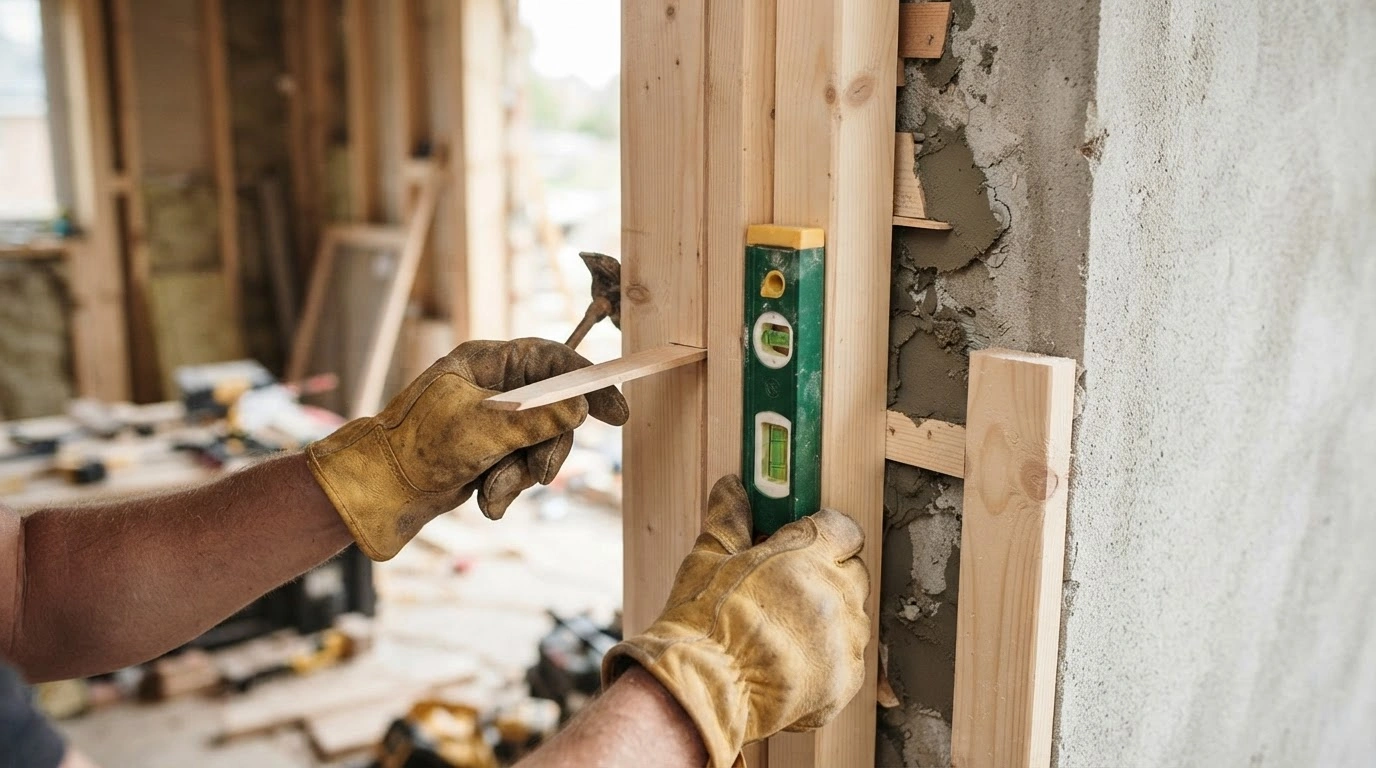
- Position the door frame in the opening and check that it is properly leveled using a spirit level.
- Then, cut the lintel doorstop and pin it into position to check the door’s thickness. Follow the same process for door jambs.
- Then, fill pins or screws in any holes. Again, check that the frame is level using a spirit level. If any area isn't level, add shims and fill the gap with concrete cement.
- Lastly, cross-check that the door will fit and swing into the space, and that the hinges will also fit.
Step 5: Fix the Door Frame
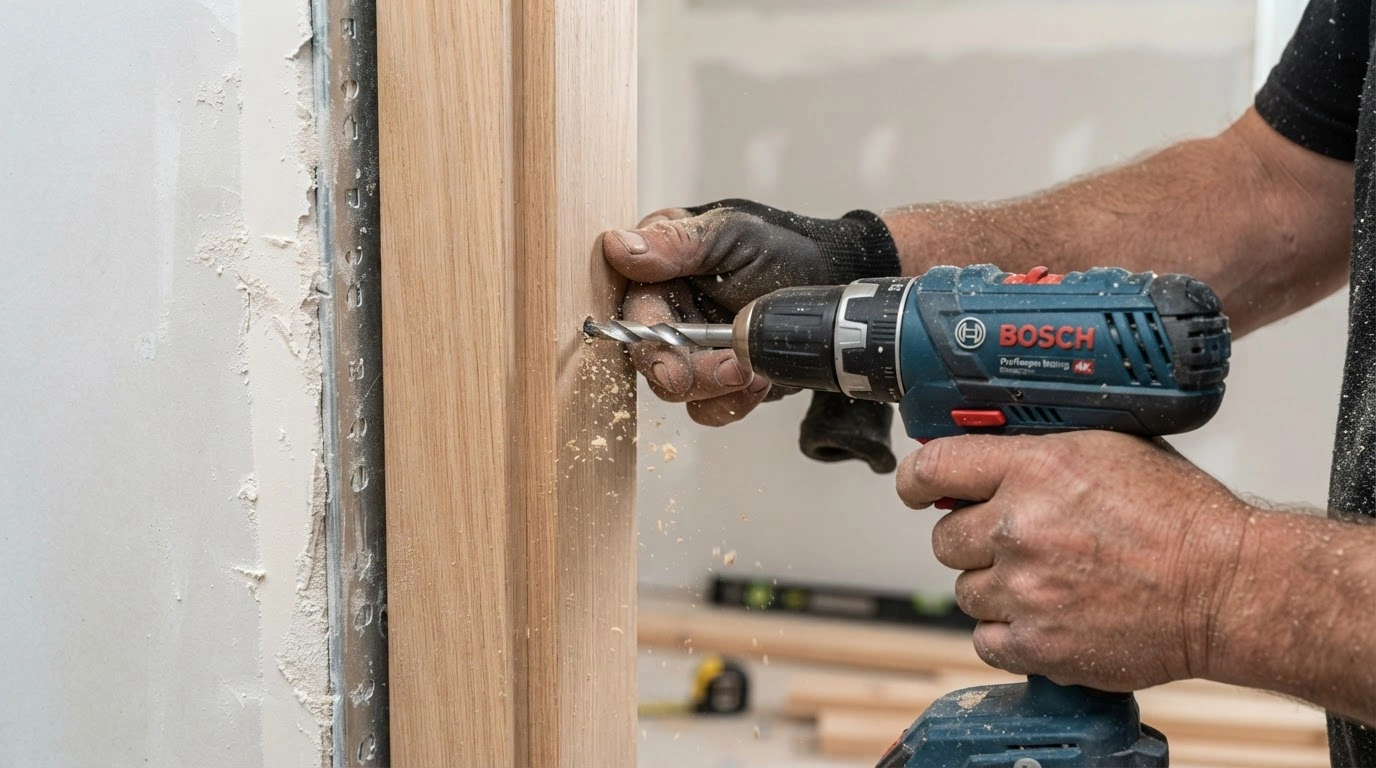
- If everything looks perfect and you are sure of the door frame size, place the frame into the wall.
- First, drill holes in the jambs and head of the door frame and mount it carefully to the wall.
- Once the frame is mounted, drill holes in it and install hinges so the door fits the frame properly. It’s impossible to attach a door to the frame without hinges.
Conclusion
Installing a door frame can seem complex, but it isn't. All you need to keep in mind is taking accurate measurements to ensure the door frame fits properly. Follow the steps, and gather the tools and materials in one place before you start.