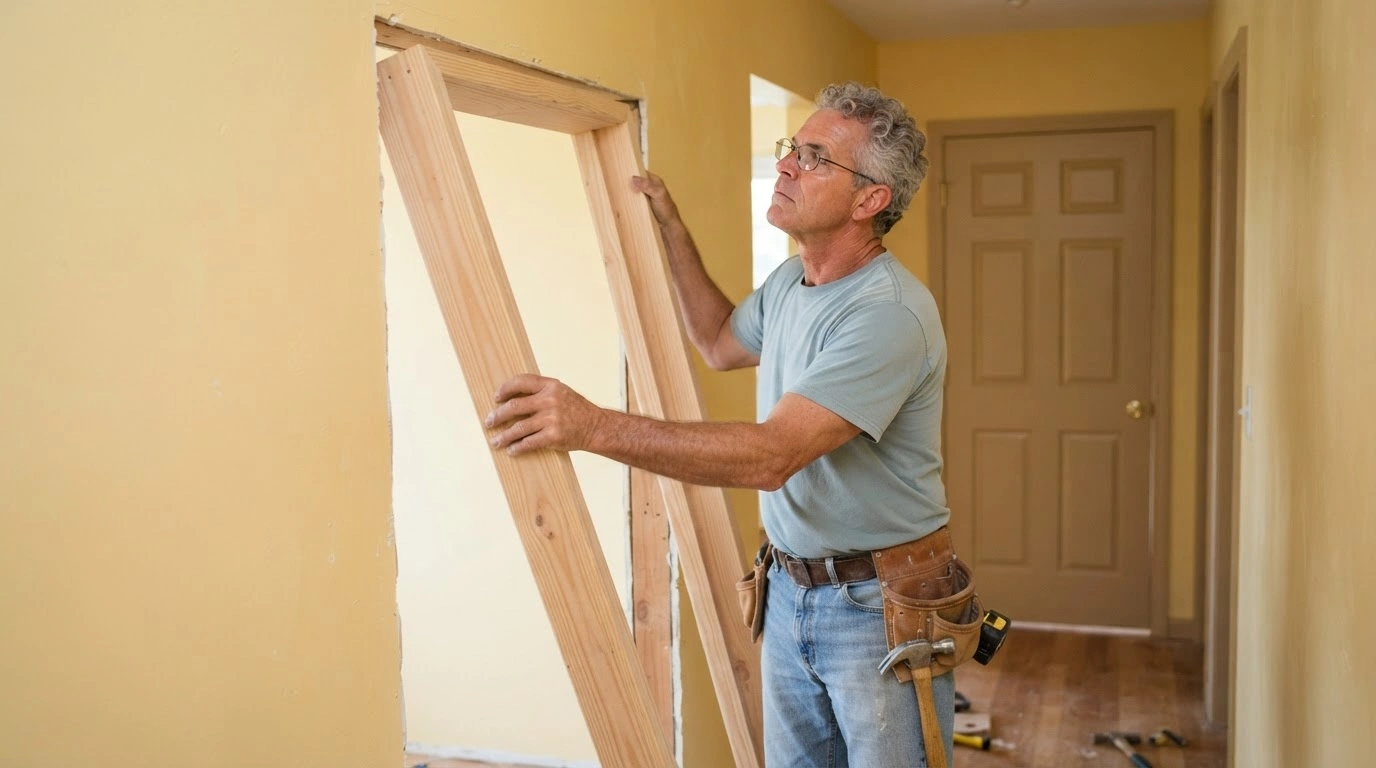
Is your door frame chipped, cracked, or starting to look a little worse? The first thing you think to do is replace the door. However, you don't always need to replace it; lightly damaged door frames can often be fixed with a few DIY tips at an affordable price. Before you start, take a close look at the damaged area, because the repair process depends on the type of damage you are dealing with.
This blog explains the door frame fixing process in detail so you can get your door frame looking solid and neat again.
Step-by-Step Guide on How to Fix a Door Frame?
Here is a step-by-step guide on how you can fix a damaged door frame -
Check the Damage to the Door Frame
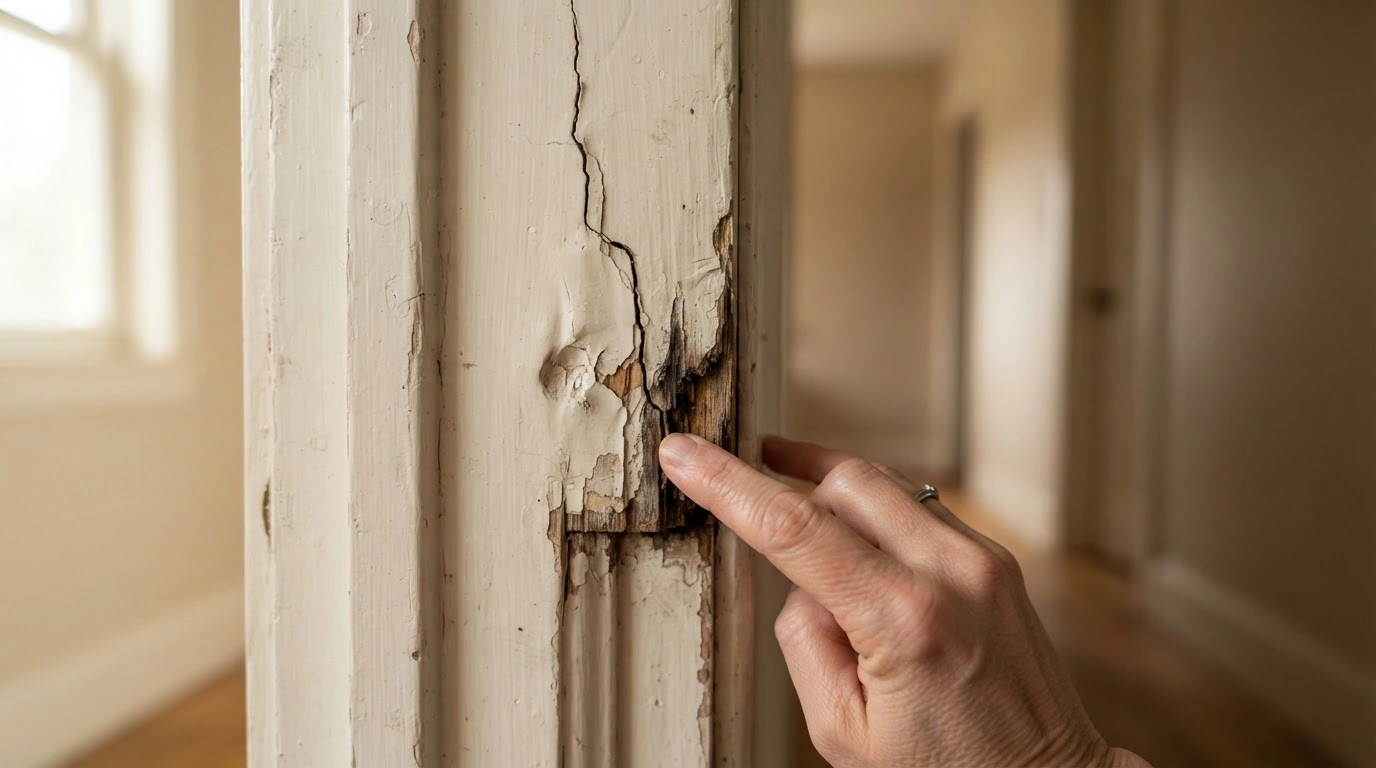
This is the first and most important step. This helps assess the type and extent of damage. Check if it is just surface-level damage, like scratches, dents, or cracks, or if there’s structural damage that might affect the functioning of the door frame.
If the damage is minor, repair is easy; however, if it's extensive, you may need to replace the frame. While checking for damage, check for issues like rot or interior cracks that might be visible at the corners or edges of the frame.
Gather Your Tools and Materials
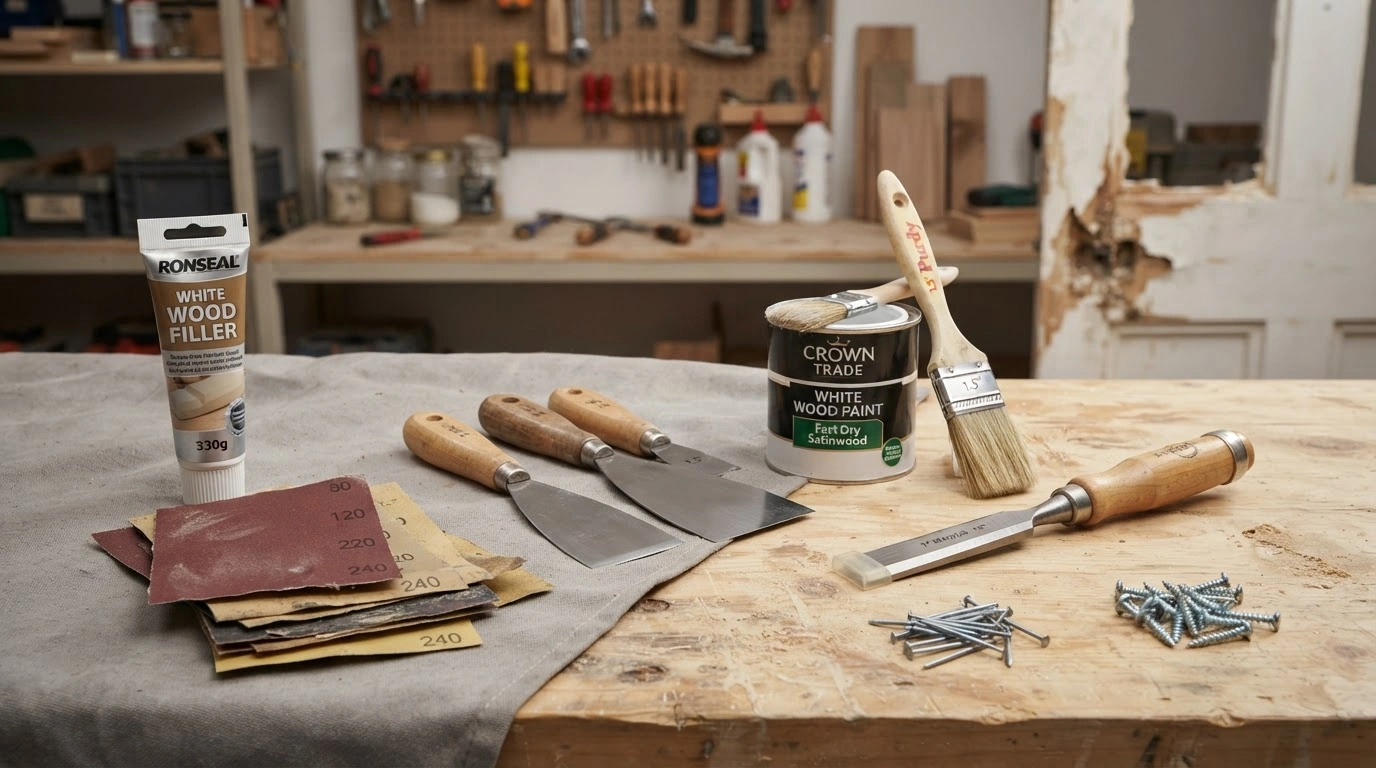
After you have assessed the extent of damage to the door frame, gather all the required tools and materials you’d need to fix a door frame. You need:
- White wood filler
- Pack of sandpaper
- Wood filling knives
- Paint (if required)
- Paint brush
- Wood chisel
- Dust sheet
- Nails and screws
| Notes | Before you start, lay down a dust sheet to protect the floor. |
Remove the Damaged Parts
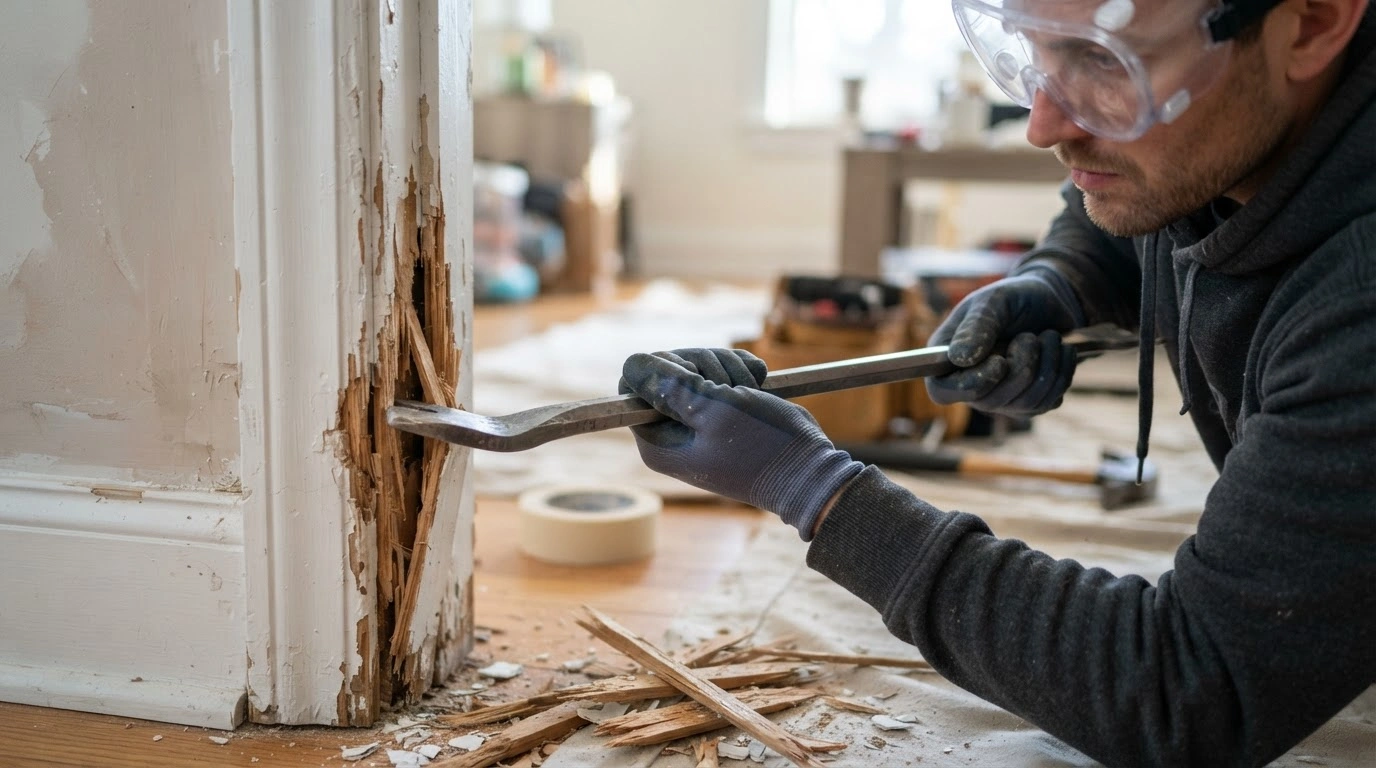
Remove the damaged sections of the door frame. Use a pry bar to lift away any molding. While doing this, wear safety goggles and gloves to protect yourself from debris and wood splinters.
Smooth the Damaged Area
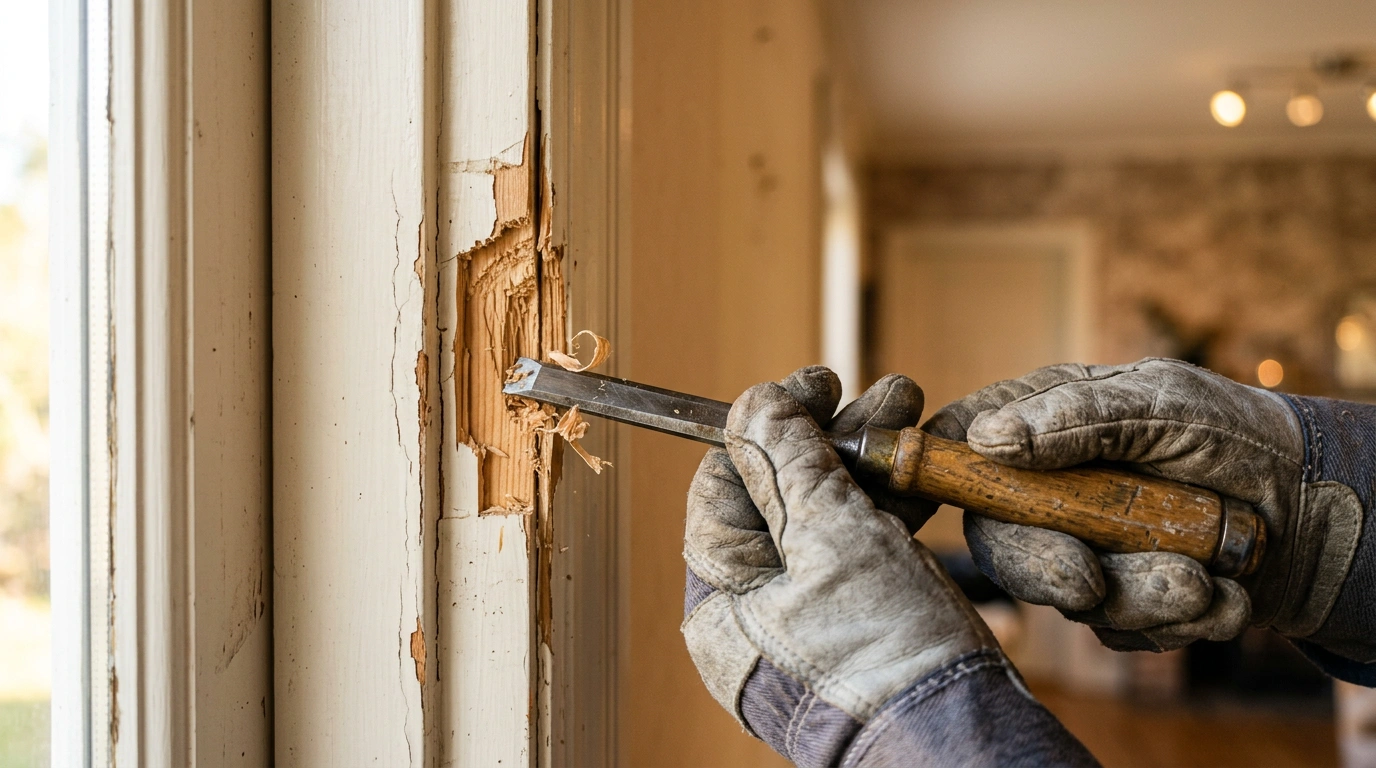
After removing the damaged parts, prepare the area so that there is no split or loose wood. You can do this using a wooden chisel. However, use it with great caution because of the risks involved. This process makes the area smoother for filling. For further smoothening, use 60-grade sandpaper to sand down the area before repairing.
Repair or Replace (as Needed)
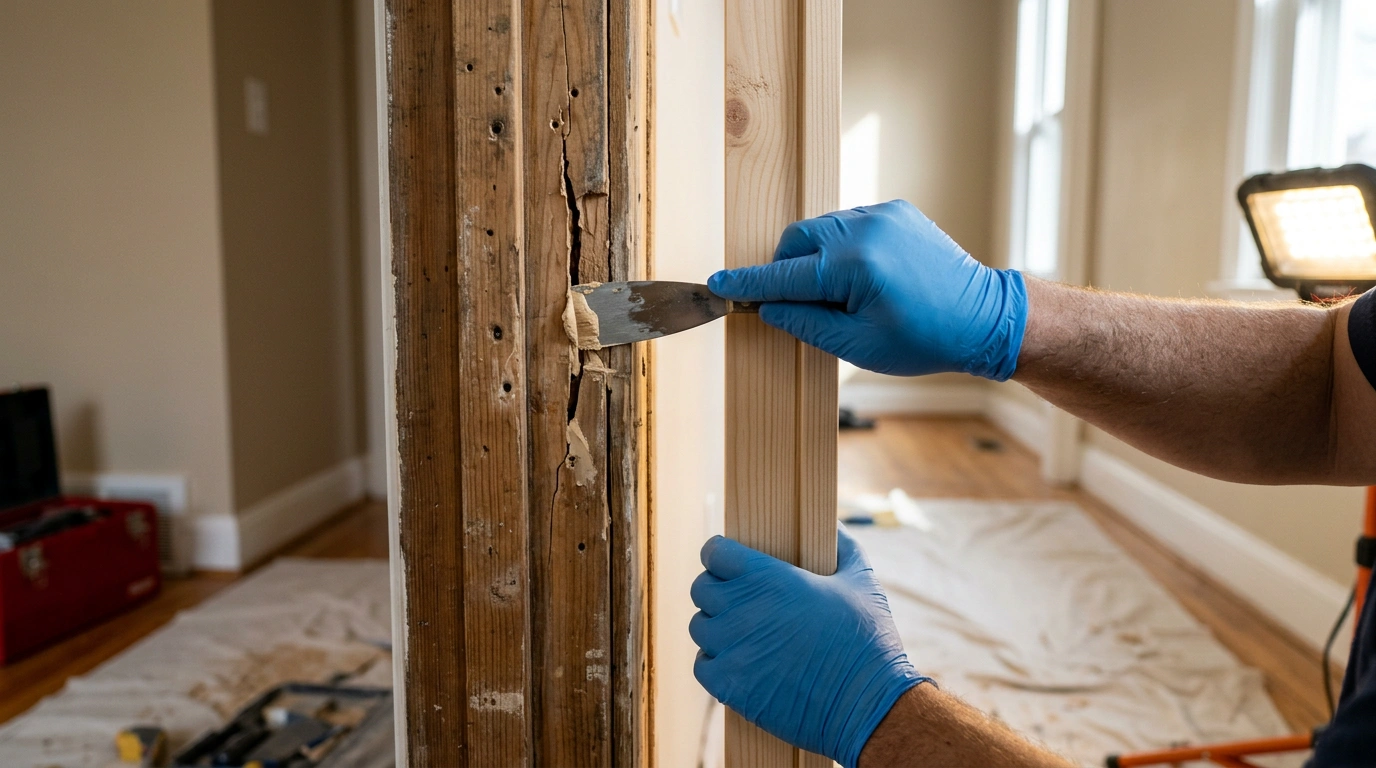
For minor damage like cracks and small holes, you can apply wood filler. However, if the issue is larger and requires a replacement, you'll need to swap out the jamb pieces altogether. This is because cutting and rejoining can be a hassle. Secure the new wood with nails or screws.
| Some Tips |
Try to match the wood filler color to the door. This makes it easier to paint the door later. |
Sand and Finish
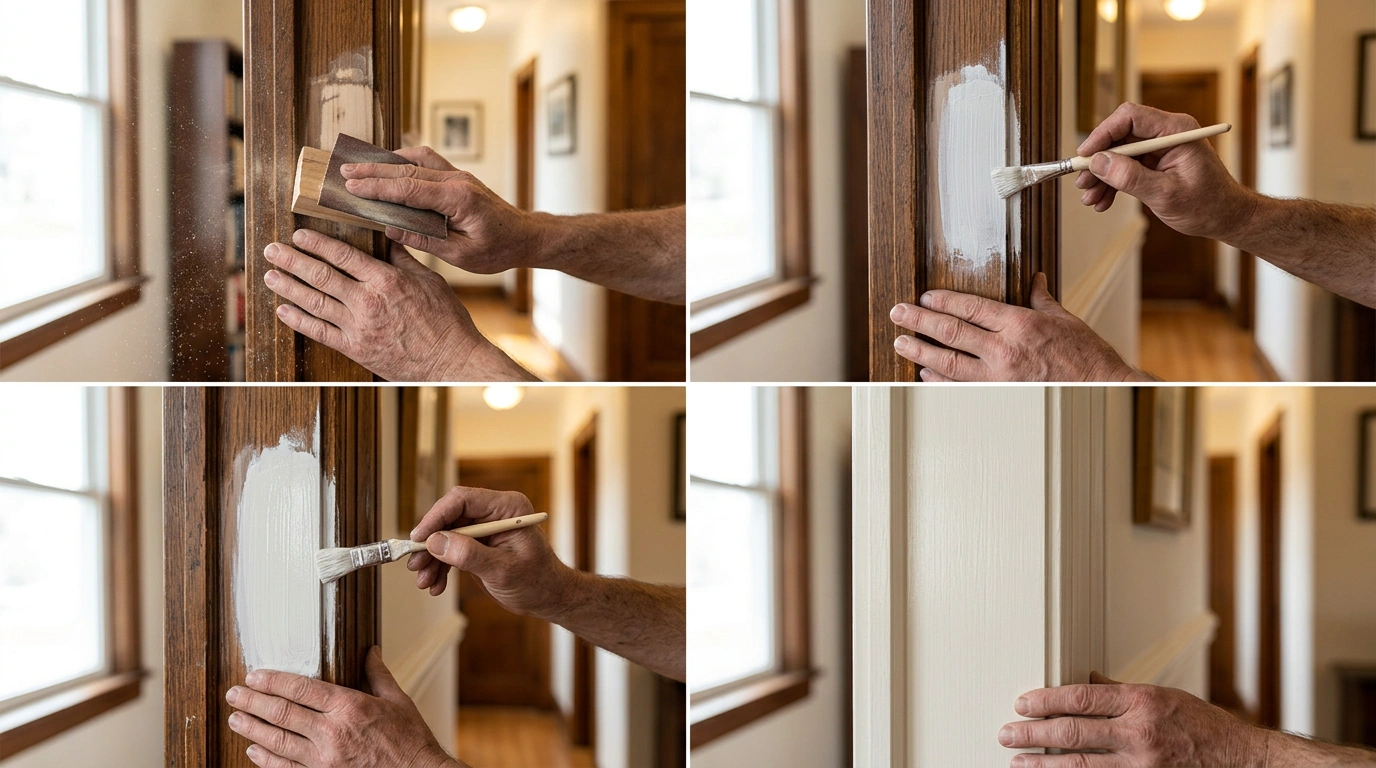
After the filler sets, sand the area to create a smooth surface. Start with coarse-grit sandpaper, then switch to fine-grit sandpaper for a smoother, cleaner finish. Before you do this, let the filler harden completely. After repairing the door frame, paint the door, making sure it matches the original paint. Prime the section properly so the paint adheres strongly to the surface.
Reinforce the Frame
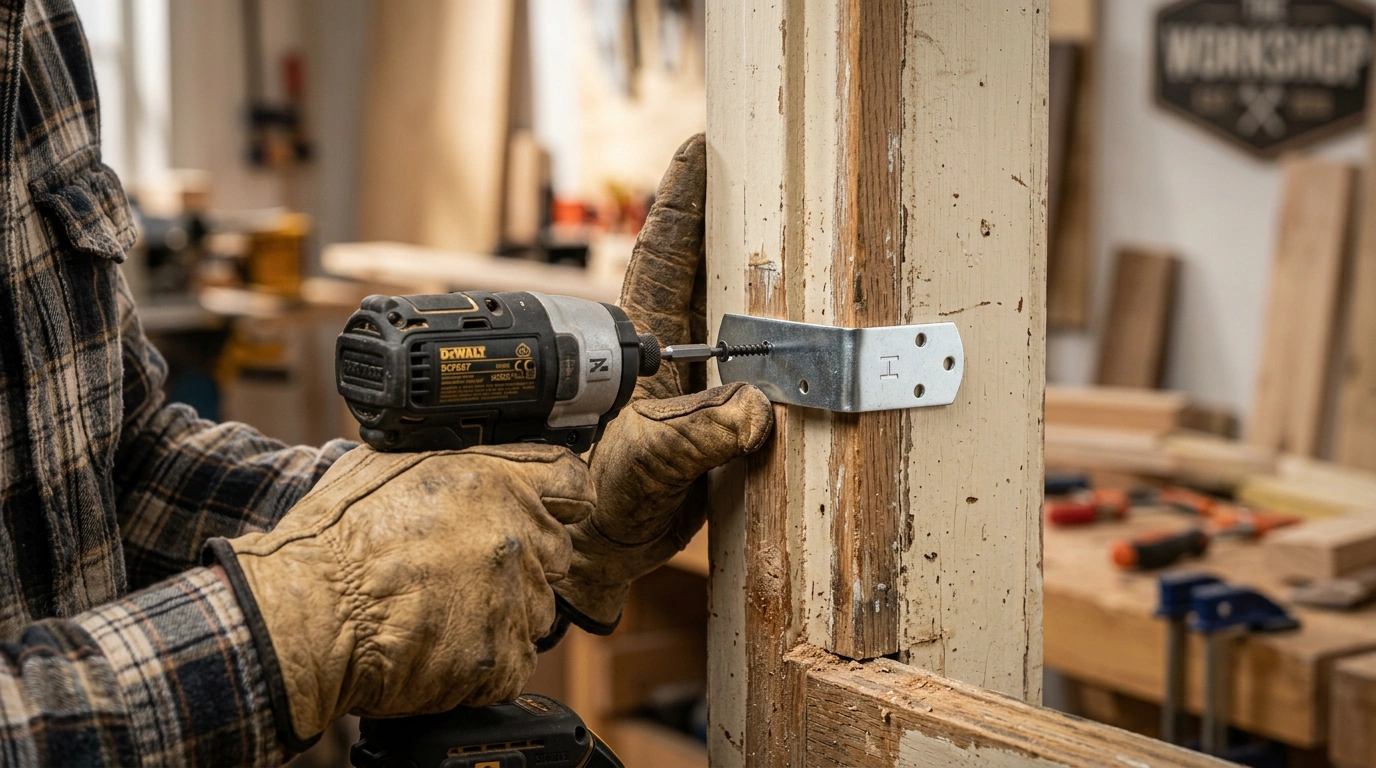
Reinforcing the frame using additional brackets or stronger materials helps prevent future damage. Maintaining the door frame can increase its lifespan. Simple door maintenance includes tightening screws, replacing hardware periodically, and checking for signs of wear and tear.
Sealing and Weatherproofing
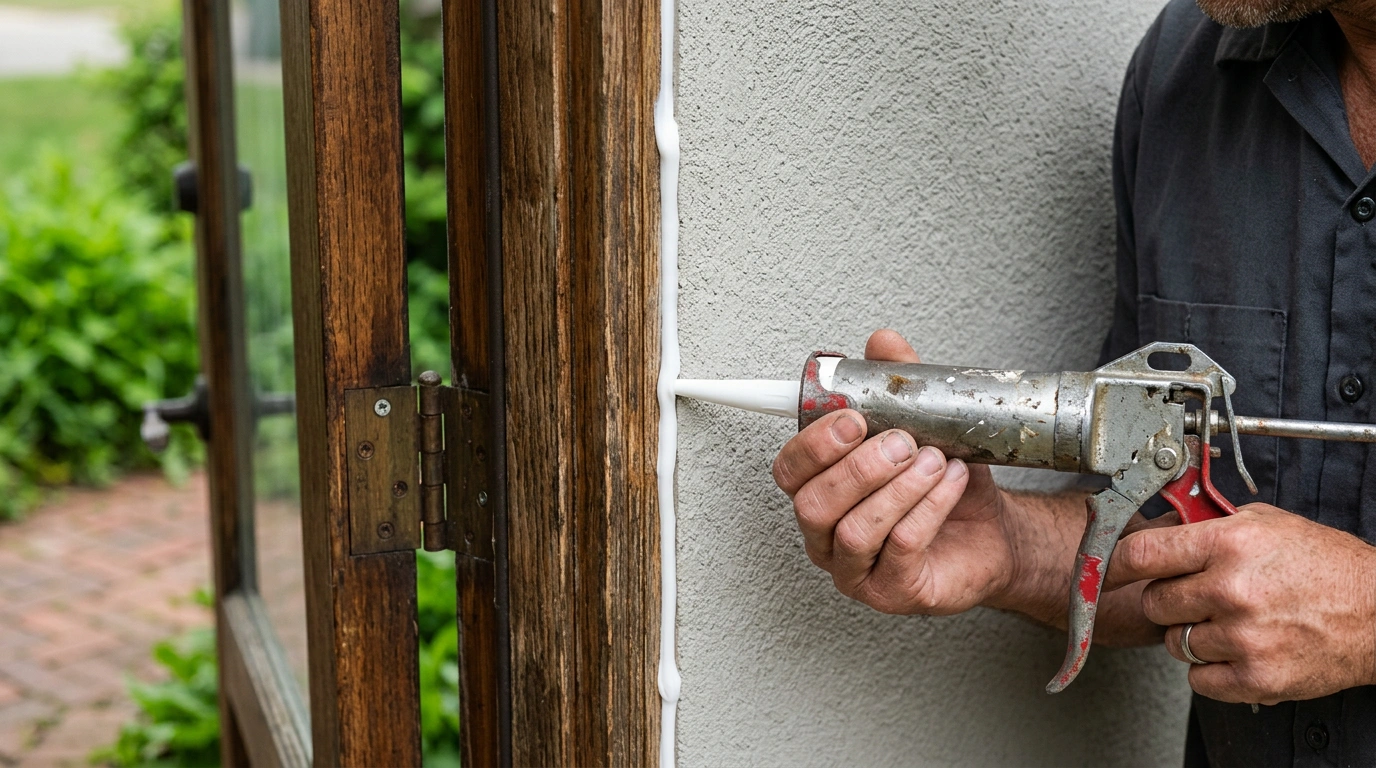
Sealing the door frame also helps protect it from moisture and pests. Use high-quality caulk and weatherproofing materials to help the door frame last longer. Sealing the door properly can improve the door frame's durability and efficiency.
How to Replace the Damage Section of the Frame?
Here is a simple step-by-step guide to replace damage sections of the frame -
Remove the Door Stop and Molding (if any)
Remove the door stop and molding using a hammer and chisel, starting from the bottom of the damaged frame. Here’s how to do it -
- Place the thin, flat edge of the chisel at the seam where the door molding meets the wall.
- Gently tap the chisel with a hammer to push it deeper into the gap and loosen the molding from the frame.
- Keep working along the molding rather than trying to pull the entire piece off at once.
- Place the nails between the claws on the end of the hammer and lever it out. This prevents the wood from breaking.
- After removing the molding, use a nail puller to grip and remove any remaining nails completely.
Mark Above and Below the Damaged Area
Measure and mark the edge of the damaged section with a tape measure. Next, draw a line on the frame with a pencil to help you better see where to cut.
- For damage at the bottom of the frame, measure and mark above the damage.
- Meanwhile, for damage at the top of the frame, mark below the damaged area.
Cut the Damaged Section
Use an oscillating saw to cut through the door frame and the nails holding it in place. Wear safety glasses, as dust and wood splinters may get into your eyes. Cut all the way through the door jamb, then use a pry bar to separate the damaged sections from the rest of the frame.
Cut a Same-Sized Timber as the Cutout Section
Measure the length, width, and depth of the door frame opening, and remember to choose the right type of timber for the existing frame. Make sure to use weather- and termite-resistant wood. Use a hand saw to cut the timber to the required size. Here’s how to do that -
- Place the cut piece into the opening to check if it fits. If the piece feels a bit tight or doesn't sit properly, trim it until it fits snugly.
- Avoid pressure-treated wood, as it may twist or warp as it dries.
- If you don’t know what type of wood you have, take a piece of the trimmed wood to the local hardware store to find the right fit.
Place the New Timber in Place
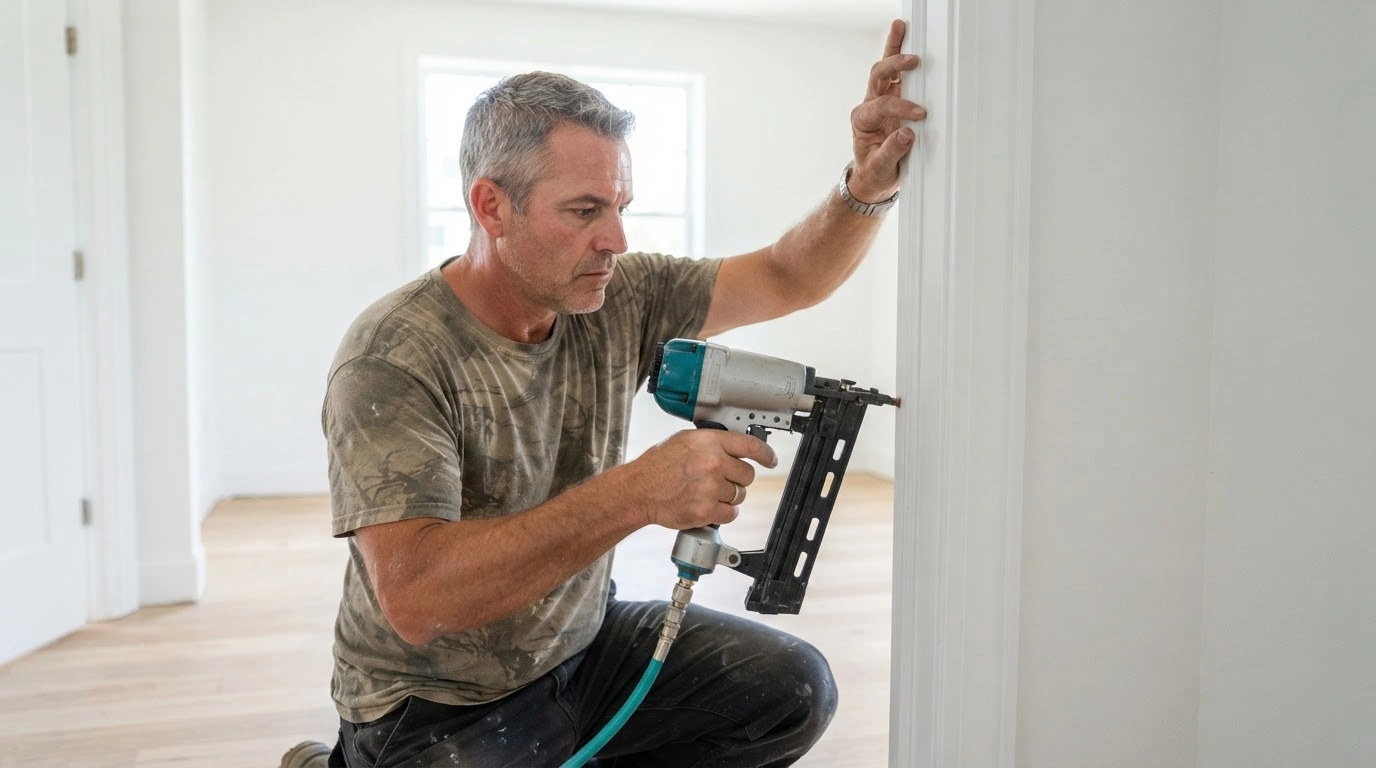
Apply wood glue to the back of the new frame and fit it into place. Once the timber piece is in the right position, use a nail gun to secure it. Wait at least an hour for the glue to dry completely.
Fill the Gaps
Apply a bead of caulk along the joints and press it deeper into the gaps. Wipe off the excess and allow the caulk to sit overnight.
Add a Finishing Touch
Lightly sand the surface to ensure it is smooth. Apply a coat of primer and paint; ensure the primer is completely dried before painting. Also, use the same color paint as the rest of the frame. Reattach the moldings using a nail gun, and reposition the door stop trim in the middle of the frame using nails.
Conclusion
With the right tools and a bit of DIY knowledge, you can restore your door frame to its original condition without replacing the entire structure. Whether it is a dent, crack, or damaged section, you must identify the extent of the damage. You may need to sand-fill-sand the section for small damage. However, a badly damaged section may need to be cut out and replaced with a new wood block.