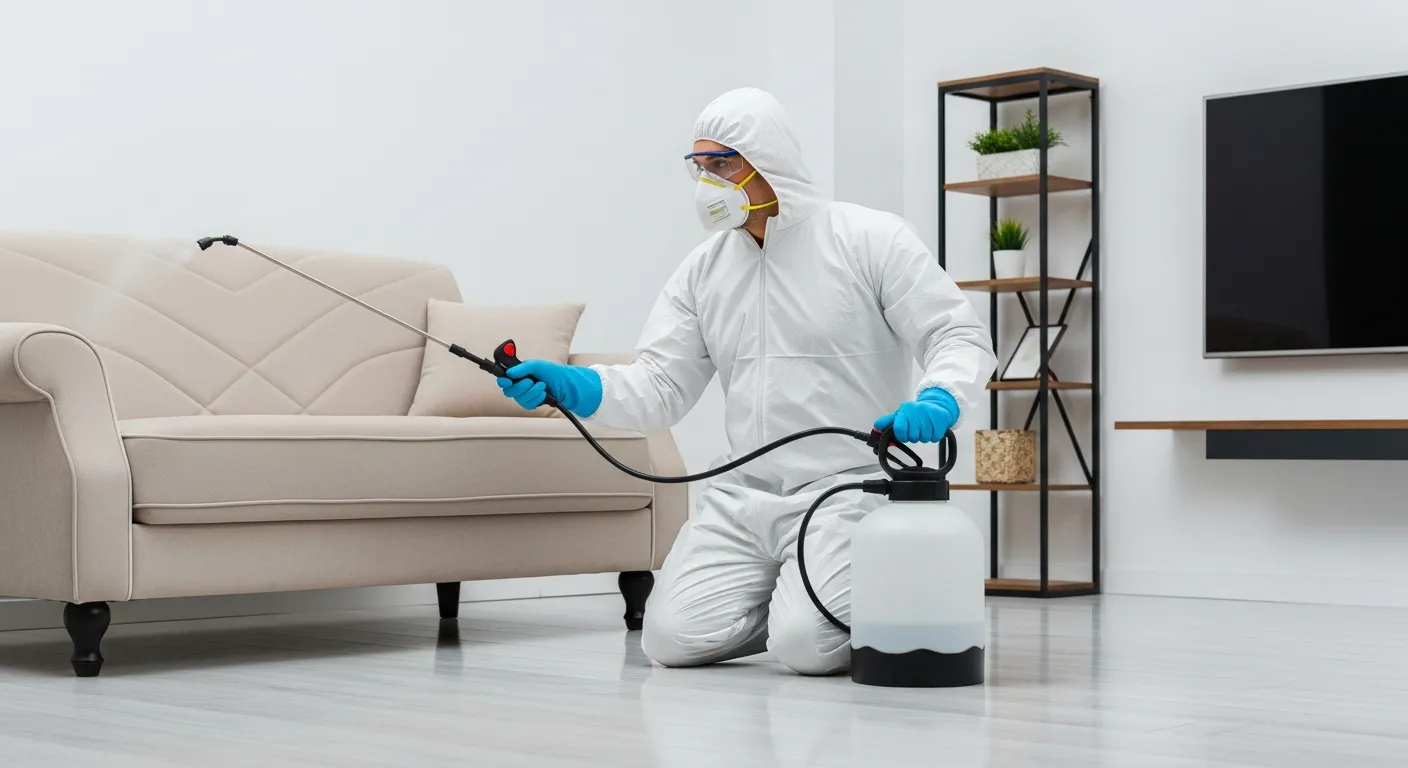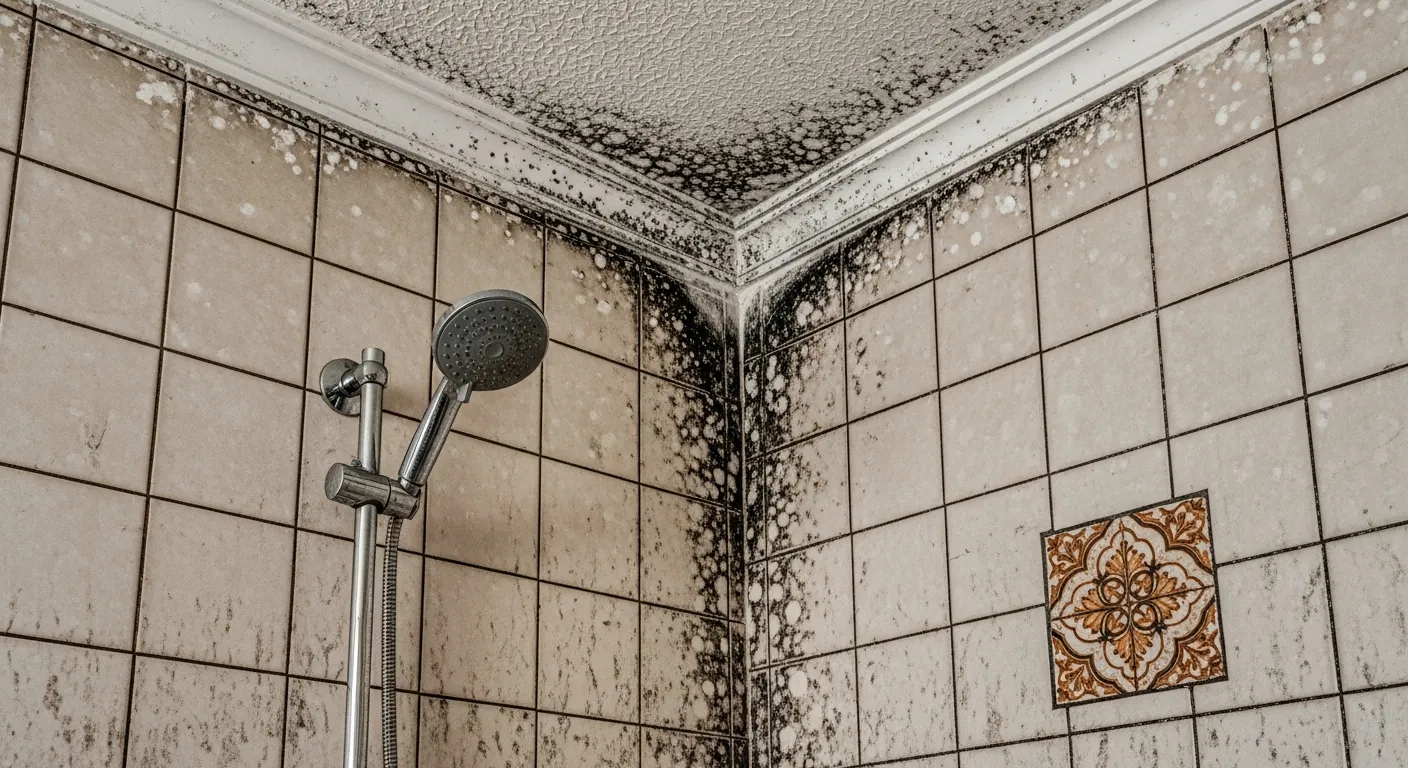
Showers are one of the most common places where mold grows because the area around the showers stays wet and warm all the time, with little to no airflow. Getting rid of mold is important, as it gives off a musty smell. Spores in the air trigger asthma and allergies and lead to impure indoor air. The good news is you can get rid of it easily just by using ingredients such as vinegar, baking soda, hydrogen peroxide, and borax.
This blog aims to help you understand why mold grows in showers and how to get rid of it. Also, you’ll learn how to prevent them from coming back.
Why Does Mold Grow in Showers?
Mold often grows in moisture-prone areas such as under the sink, around shower tiles, and behind shower walls. There could be several reasons for such growth, and some of the obvious reasons are:
- Moisture and humidity
- Poor ventilation
- Soap scum and organic buildup
How to Get Rid of Mold in the Shower?
Before using any of the methods below, assess the mold problem. If the mold growth is limited to a small area, DIY and commercial cleaners can be the best option. However, if the mold spread covers a larger area, you need to call a professional.
Method 1: White Vinegar
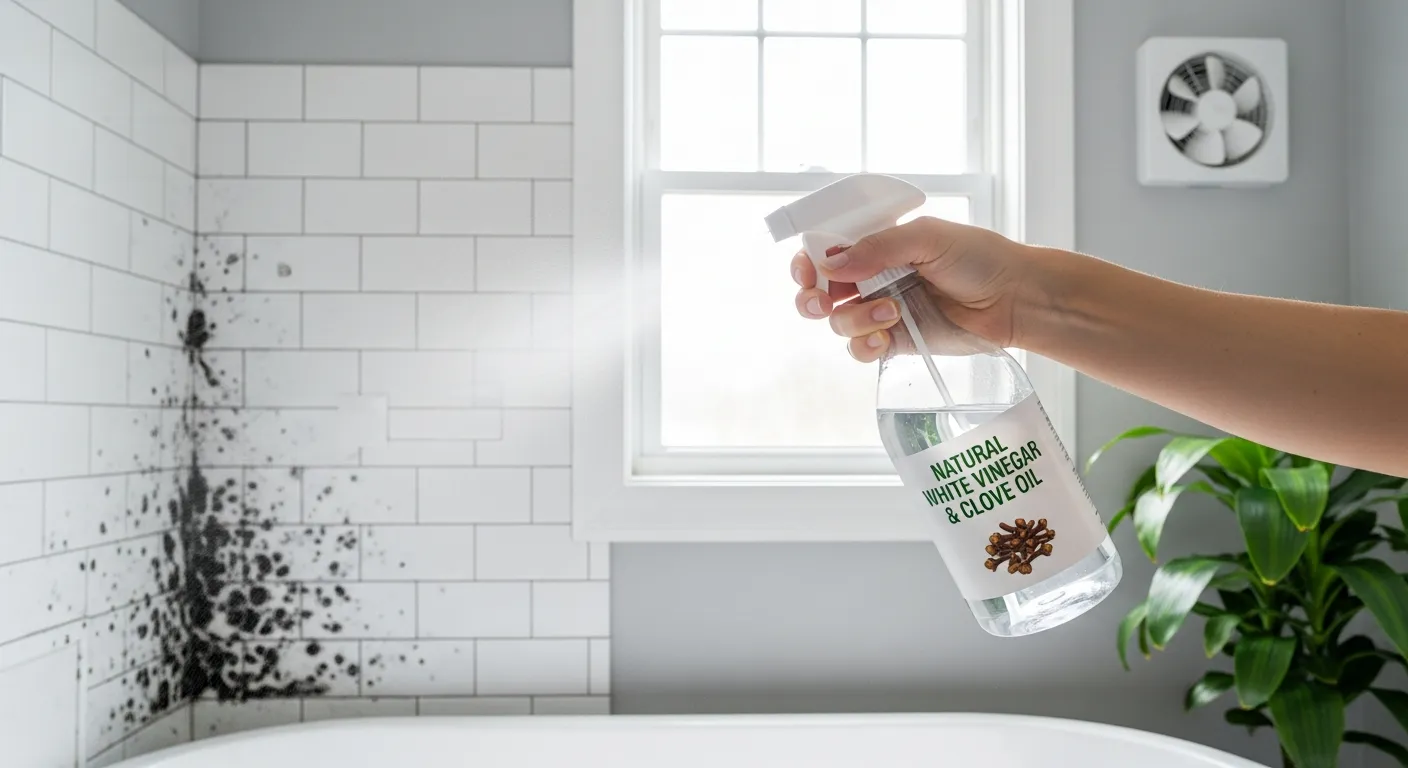
White vinegar is acidic and kills many common household molds. It does not penetrate porous surfaces and is safe to use. Here’s how you can use it -
- Fill a spray bottle with undiluted vinegar (do not add water).
- Spray on the mold until it is completely wet. Spray the grout lines and bathroom corners, too.
- Allow it to sit for at least 30-60 minutes. Do not rush, be patient, and let the vinegar work.
- Scrub the wall with a stiff brush. For grout lines and corners, use a toothbrush.
- Rinse the bathroom with warm water and dry it with a microfiber cloth.
Method 2: Baking Soda and Vinegar
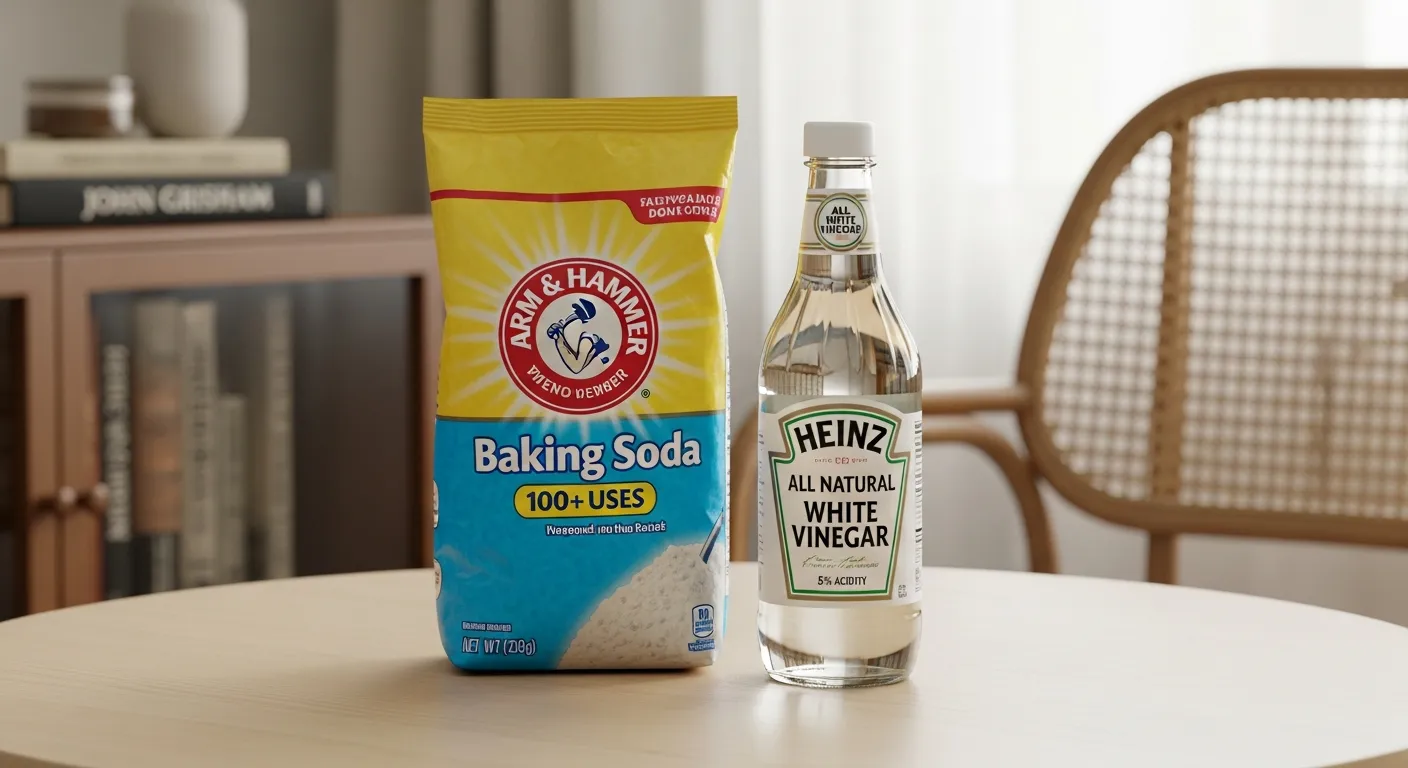
Baking soda works well on mold because it is mildly abrasive, helping remove stubborn buildup without damaging the surface. It also helps absorb and neutralize the unpleasant odor caused by mold growth. To use it -
- Combine 1 part baking soda with water to make a thick, spreadable paste.
- Apply the paste on the affected area and make sure to use it on the grout lines, too.
- Allow it to sit for 10-15 minutes before scrubbing.
- Scrub the surface well, rinse it with clean water, and then dry the area. If the mold growth is stubborn, spray vinegar over the applied paste on the surface and allow it to sit.
This method is best for rough surfaces, grout, corners, persistent mold, and odor removal.
Method 3: Hydrogen Peroxide
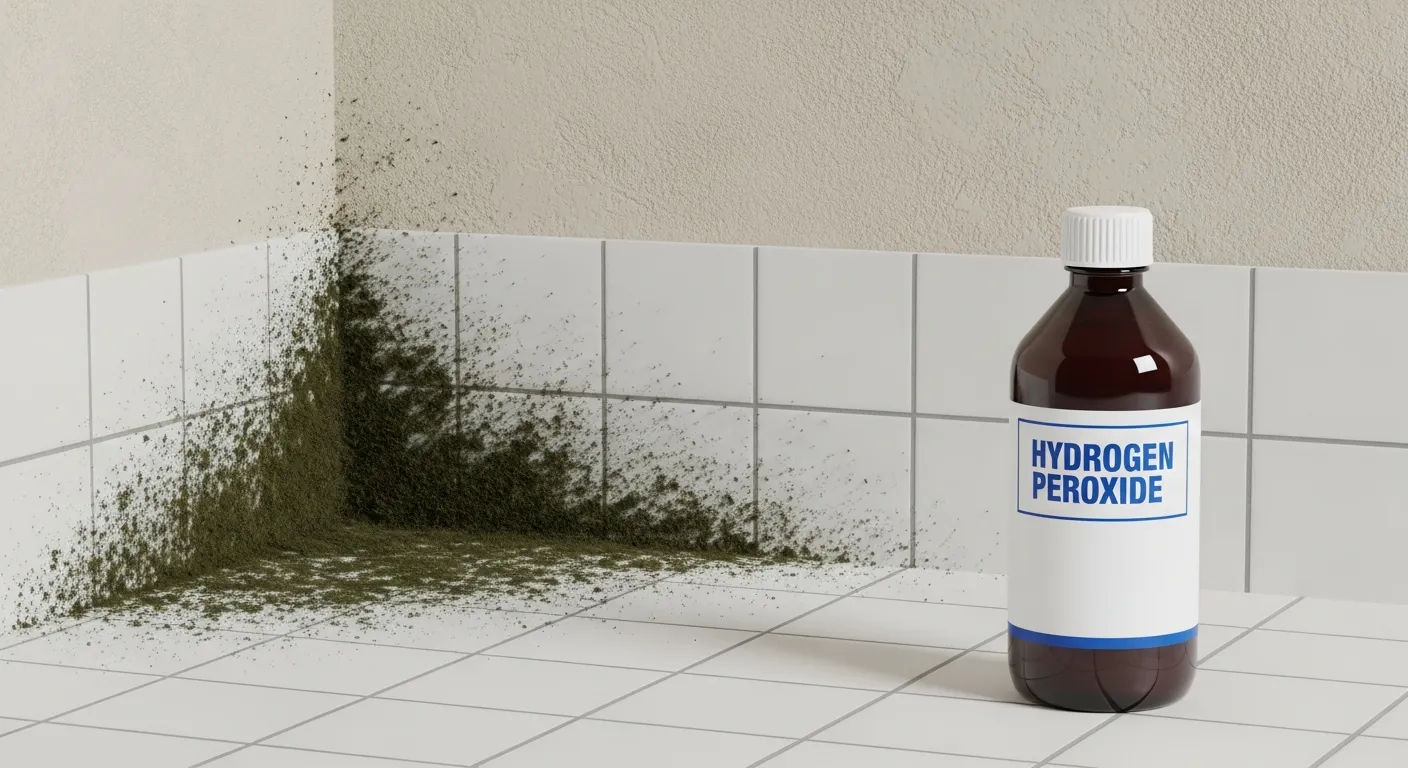
Hydrogen peroxide helps kill mold and lift the dark stains it leaves behind. It can also be used after vinegar has cleaned the surface, even if the lines still look gray. Most people consider hydrogen peroxide their first choice for cleaning mold off bathroom walls. It is best for non-porous areas or those with grout lines. To make the solution -
- In a spray bottle, pour 3% hydrogen peroxide and do not mix with water. Also, keep it out of light to maintain its effectiveness.
- Saturate the area with the hydrogen peroxide and allow it to sit for 10-30 minutes, depending on the severity of the infestation.
- To clean the grout, spray some hydrogen peroxide and scrub with a toothbrush.
- Rinse and let it dry. If required, repeat the process.
| Pro Tips | Soak paper towels in hydrogen peroxide, lay them over the grout line, and cover with plastic wrap. This prevents the papers from drying. Let it sit for a few hours. This helps lift stains and deep-clean the surface, giving it a professional look. |
Method 4: Commercial Mold Removers
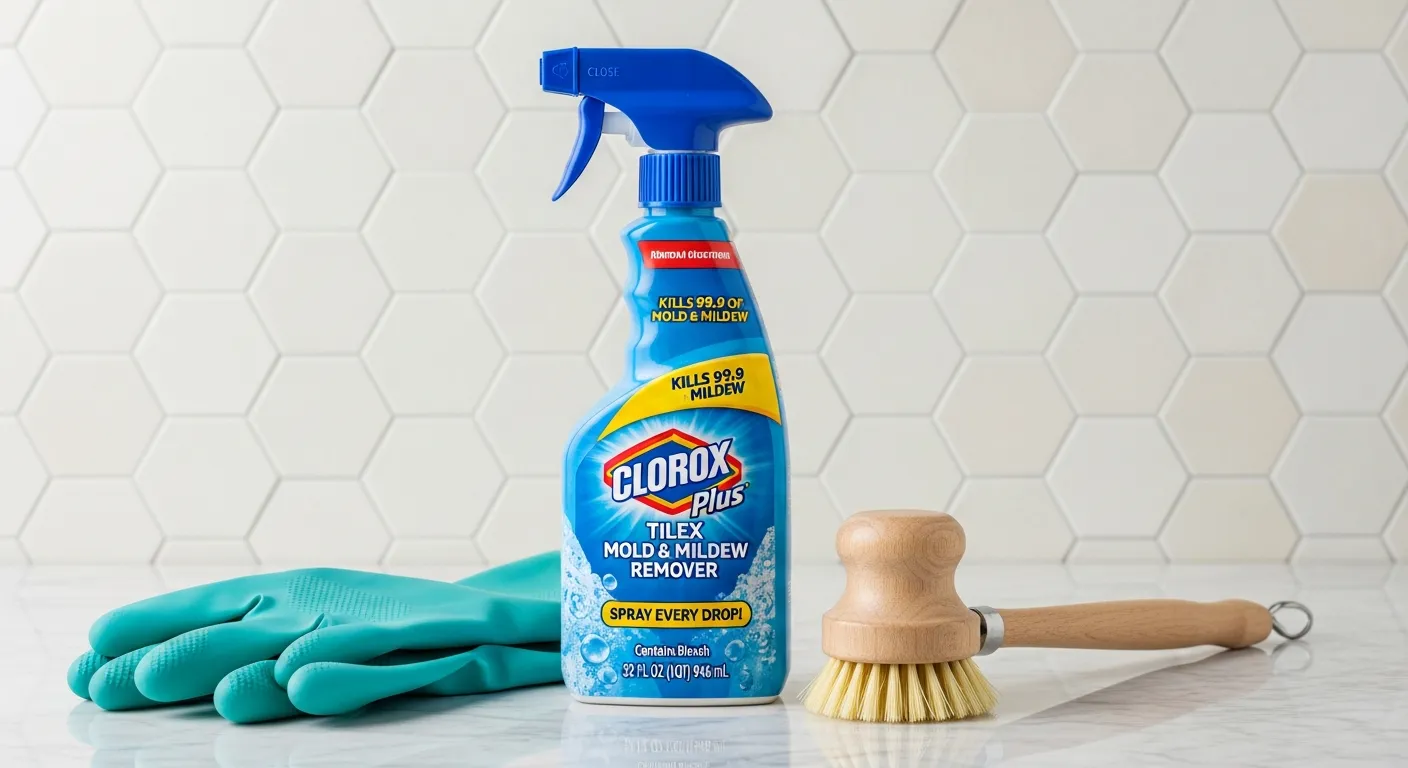
Store-bought cleaners are convenient, easy to use, and effective for mold-affected surfaces. To buy the best ones, look for cleaners that combine mold-killing agents with surfactants. Ensure the cleaner has an EPA registration number on the label, which guarantees the product will work as claimed.
These can be used to clean the surface of tile, glass, and fiberglass. These cleaners are worth using if you want to speed up the cleaning process and do not have time to DIY at home.
Method 5: Borax Solution
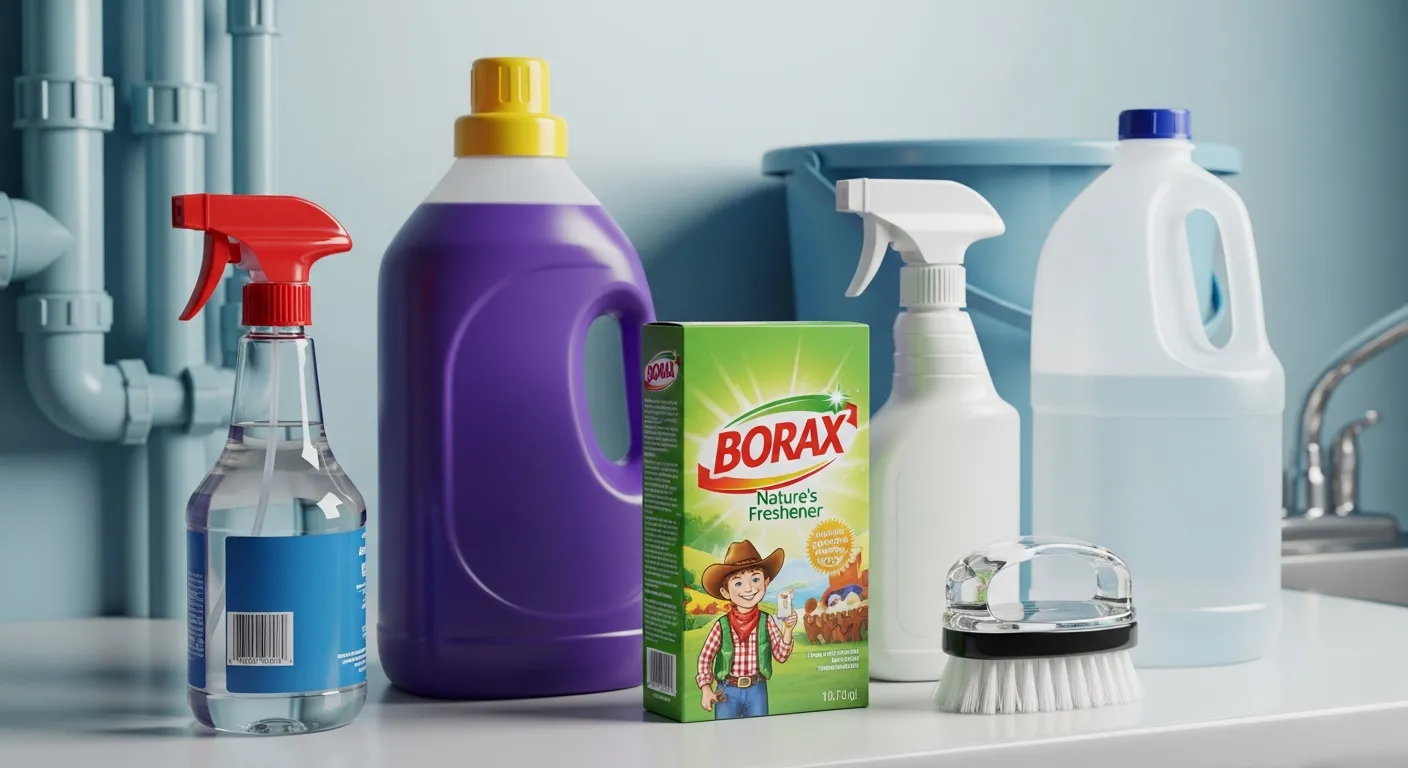
Borax is also effective for cleaning and removing mold in the shower, like many other cleaners. However, as it does not require rinsing, it can leave a thin layer of borax behind. This residue inhibits the growth of mold. Borax is very effective in areas that are prone to mold regrowth, such as bathrooms, basements, and damp corners.
Quick Comparison: White Vinegar, Hydrogen Peroxide, Borax Solution, Baking Soda, and Commercial Cleaners
| Method | Best to Use On | Resting Time | Cleans Deep | Need to Rinse |
| White Vinegar | Tiles, grout, sealed grout | 30-60 min | Yes | Yes |
| Hydrogen Peroxide 3% | Grout, stains, and hard surfaces | 10-30 min | Yes | Yes |
| Baking Soda Paste | Textured, corners, odor surfaces | 10-15 min | Surface | Yes |
| Borax Solution | Recurring, high moisture | Leave the solution | Yes | No |
| Commercial Remover | Easy and fast cleaning | As directed on the label | Varies | Read the label before using |
How to Remove Mold From Shower Grout?
Grout has a porous surface that traps the mold inside the grout line, which might make cleaning a bit difficult. So, here are some simple ways to make sure you remove them from the grout lines -
- Use the Right Scrubbing Technique: Scrub with a toothbrush, but don't scrub too hard, as it will remove the grout as well.
- Cleaning Solution: For the best results, spray the grout lines with hydrogen peroxide and let it sit for a while.
You may need to regrout if the grout lines get damaged or if you see mold stains on them.
How to Remove Mold From the Shower Caulk?
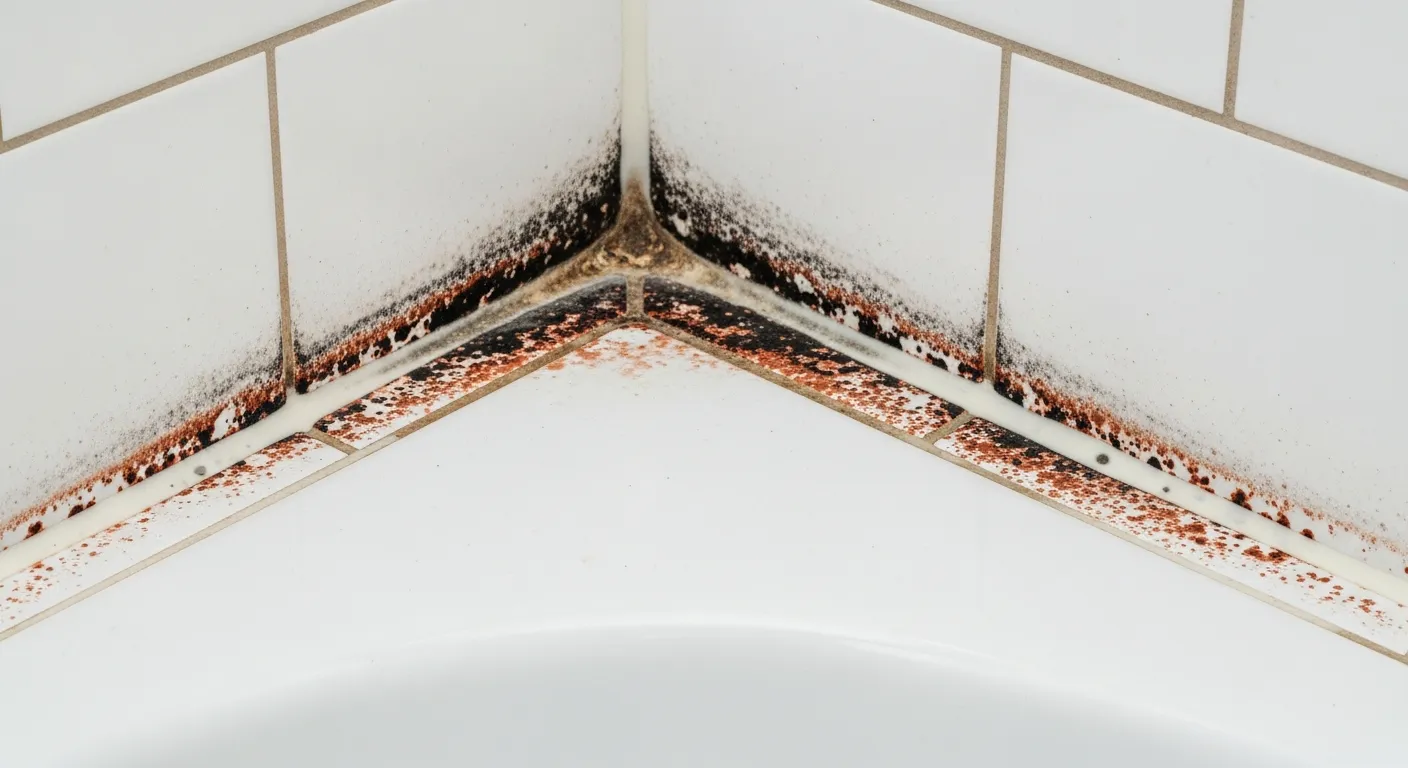
Cleaning Surface Mold
- Clean the surface with vinegar or hydrogen peroxide to remove all the mold.
- Always wear gloves and a mask to cover your nose.
- You can also use commercial cleaners, especially made to get rid of mold.
- Avoid mixing cleaners as they may give off toxic fumes and can damage the shower tiles and walls.
Signs Caulk Needs Replacement
- If there's a gap or crack in the caulk.
- If the caulk is damaged and has lost its firm seal.
- If the mold keeps returning very often even after you thoroughly clean it.
| Notes |
To ensure the new caulk lasts longer, remove the old caulk and wipe the area with rubbing alcohol. Also, make sure to use high-quality, mold-resistant 100% silicone caulks. |
How to Prevent Mold in the Shower?
Proper maintenance and cleaning are important for mold prevention. Here are some tips to help you ensure that the mold is not coming back -
Improve Ventilation
Open the window and blinds and let natural light in. Also, replace heavy drapes with lighter sheer curtains. This prevents mold from growing inside the shower.
Use an Exhaust Fan
It is important to ventilate the bathroom properly using a bathroom vent fan. Keep it turned on while you are using the bath and showers. After showering, let it run for at least 30 minutes. Ensure you buy a good-quality fan so that repairs and replacements do not become a hassle. You can also use dehumidifiers to reduce moisture in the shower.
Wipe Down Surfaces After Showering
Keep everything cleaned. Though cleaning a bathroom isn’t an easy chore, it is important to ensure there is no water left on the counter or floor that could attract mold. Consider replacing the shower liner every 6 months. This makes it easier to keep your bathroom mold-free.
Fix Leaks Promptly
You must fix the leak immediately, because dripping water keeps the space moist, creating an ideal place for mold to grow. Even if you get rid of the mold in the shower, if the pipes are leaking, the mold is likely to come back if the pipes are leaking.
Regular Maintenance Schedule
Routine maintenance helps manage moisture and eliminates the organic buildup, such as soap scum and dead skin, that mold spores feed on. Also, ensure to keep humidity at its lowest and stop water from pooling around and seeping into porous surfaces. Here are other things you can do -
- Wash damp curtains, bath mats, and towels.
- Deep clean the shower, tub, toilet, and cabinets.
- Wipe down the countertops, cabinets, mirror, shower heads, faucets, etc at regular intervals.
Common Mistakes to Avoid (Safety Precautions)
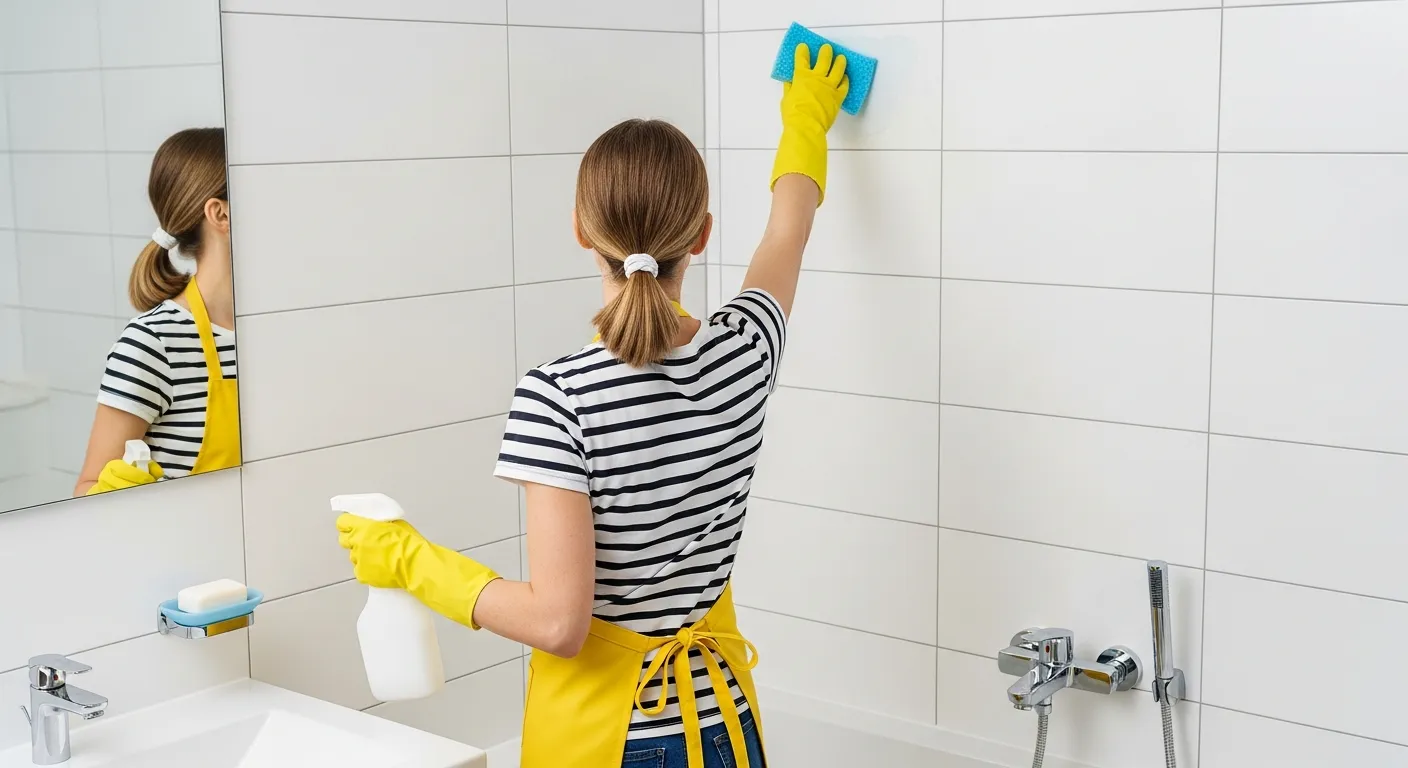
Here are some common mistakes you must avoid when cleaning off the mold -
Mixing Bleach and Vinegar
Mixing bleach with vinegar is not a good idea because it produces toxic fumes that can irritate the eyes, nose, throat, and lungs.
Ignoring Hidden Mold
Mold might grow in areas you wouldn’t expect, such as behind the walls, under carpets, inside the ceiling, in vents, etc. If you do not check these areas, it can spread to other spaces and compromise the air quality inside the home. Just cleaning is not enough, you have to be proactive and keep a keen eye to get rid of them.
Not Wearing Gloves
Before cleaning, it is strictly advised to wear protective gloves and an N95 mask. This prevents inhaling airborne spores and protects the skin from allergic reactions to chemical irritants. It may also cause skin burns or respiratory distress. It is advised not to touch the mold with bare hands.
Skipping Preventive Measures
When cleaning, do not forget to open the doors and windows to ensure ventilation. It is also advisable to use a dehumidifier to ensure there’s no moisture left in the shower that could trigger mold growth.
When to Call a Professional?
Cleaning mold from the moisture-prone areas could be challenging. Therefore, it is important to call a professional if:
- Persistent mold despite cleaning
- Strong odor even when you do not see mold
- There is extensive mold growth, covering a larger area.
- There is mold behind walls, under the floor, or inside the ceilings.
- Mold has spread into HVAC systems, air ducts, or insulation.
Conclusion
Keeping mold out of the shower is easy if you have the right cleaning products and tools and know the cleaning process. Since showers are exposed to constant moisture, warmth, and limited airflow, mold can develop quickly if you leave the area uncleaned for a long time. Regular cleaning is good to get rid of the mold, but to prevent it from coming back and completely get rid of it, take proper precautions. For example, improving ventilation and following regular cleaning habits.