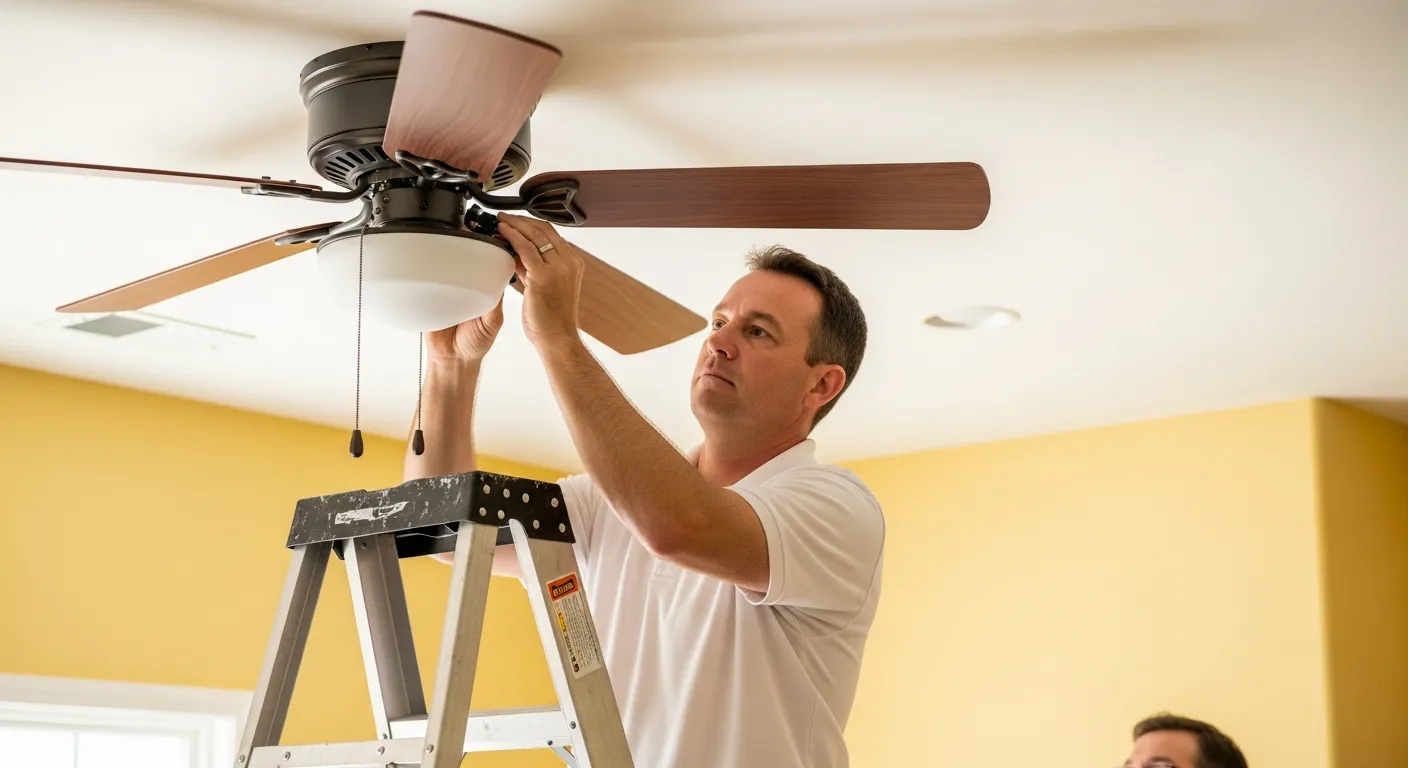
Ceiling fans are an essential appliance in any household. It helps by circulating air to keep spaces cool and maintaining proper airflow throughout rooms. They not only ensure comfort but also serve as an important decorative piece, enhancing the room’s appearance.
However, ceiling fans do not last forever. They only have a lifespan of around 10 years before needing replacement. Additionally, they may go out of style, requiring homeowners to take them down before replacing them. The process of taking down a fan requires careful attention to safety. This article provides instructions for safely taking down a ceiling fan.
Important Safety Considerations
Working with electrical items in the home, such as ceiling fans, lights, or receptacles, requires strict attention to safety measures. It is important to shut off the power before beginning any work. After turning off the power, verify that electricity is completely cut off before proceeding. If it is hard to identify which breaker or fuse controls the fan, it is best to turn off the main breaker.
Ceiling fans can be quite heavy, so handling them alone can be a challenge. If you feel uncertain about safely removing the fan while on a ladder, it is better to call a friend for assistance. Even for those confident in their ability to handle the fan’s weight, it is still better to have someone to support the ladder.
Materials Required
Once safety measures have been taken, gather all necessary tools before starting the removal process. The right tools ensure the fan is taken down carefully and efficiently. The following items are needed for removing a ceiling fan:
- Screwdriver Set: A set containing both flathead and Phillips head screwdrivers will be required.
- Voltage Tester: This tool confirms that electrical power is completely off before touching any wires.
- Wire Cutters: Essential tools for safely disconnecting wires.
- Ladder: A sturdy ladder tall enough to reach the fan when necessary.
- Electrical Tapes: Used to cover wires after disconnection to prevent any accidents.
- Safety Goggles and Gloves: These protect the eyes and hands throughout the removal process.
- Drop Cloth: These are useful for catching any falling screws and debris.
Steps to Remove the Ceiling Fan
Remove Light Bulbs and Globes
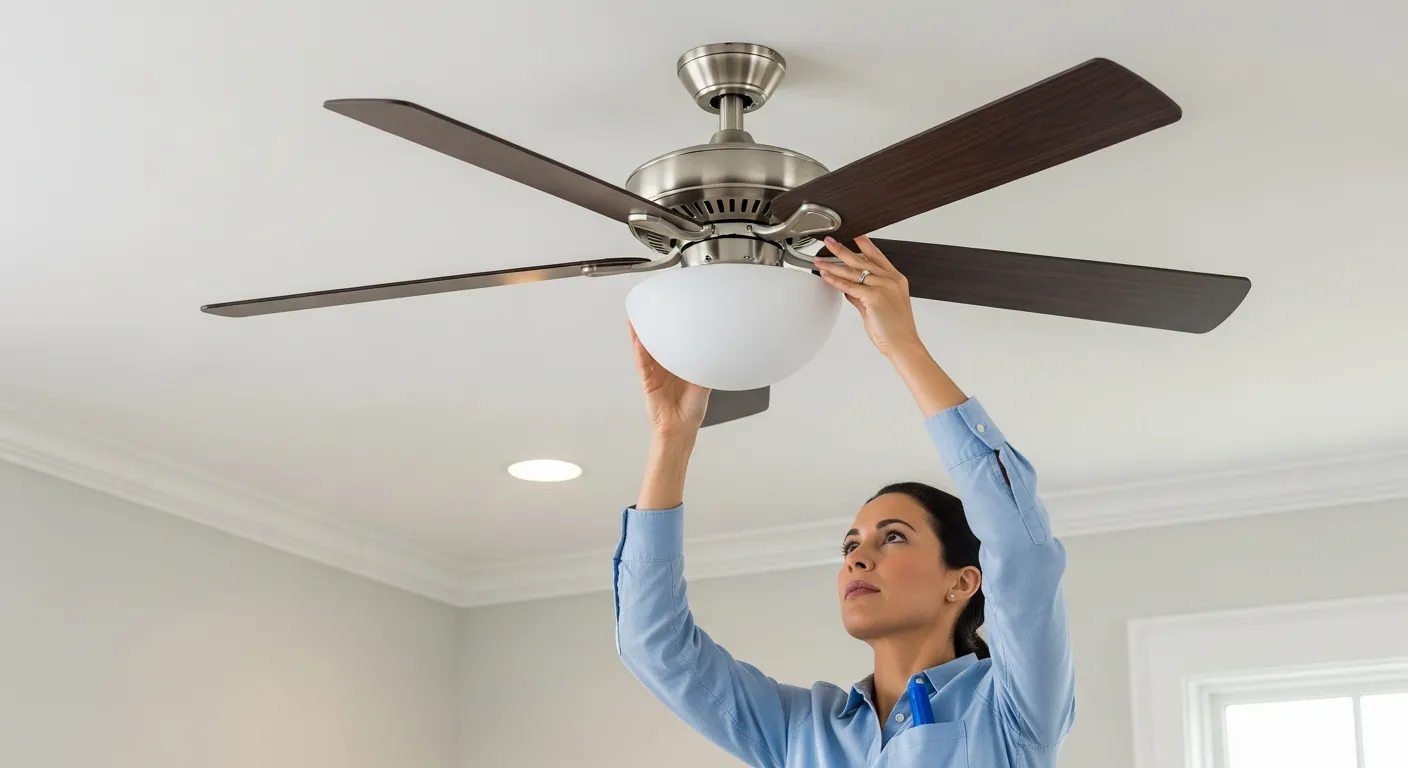
Not every ceiling fan includes a light kit, which consists of a separate cover and hardware for the electrical lighting component. For fans who have light fixtures, the globes and bulbs should be removed first.
If the fan was functioning recently, it is best to give bulbs and other parts some time to cool down. When globes cover the light bulbs, these globes must be removed first. This can be done with a screwdriver, which loosens the screws holding the globes.
Some globes can be removed by simply unscrewing them without any tools. Make sure not to drop the globe during removal. Then, light bulbs can be unscrewed. These bulbs can be reused in the replacement fan if they are suitable.
Remove the Light Kit if Necessary
For flush-mounted fans, removing the light kit is often necessary to access the screws that attach the fan to the ceiling. The screws securing the light kit to the fan housing must be identified and removed. A helper should support the light kit when the screws are removed to prevent it from falling. The wires running from the light kit to the fan must be disconnected.
Remove the Fan Blades
Removing the blades makes it easier to access the top of the fan. Therefore, the next crucial step is to detach each blade from the fan using a screwdriver.
Remove the Metal Canopy
This step may require using a very short screwdriver to reach between the ceiling and the fan's main body. After the canopy is unscrewed, it can be lowered so it rests on top of the fan body.
This shows how the ball at the top of the fan pole fits into the bracket, further highlighting that it slides in and out easily. The electrical connections between the fan and the ceiling wires also become visible at this point.
Disconnect the Wiring and Remove the Fan
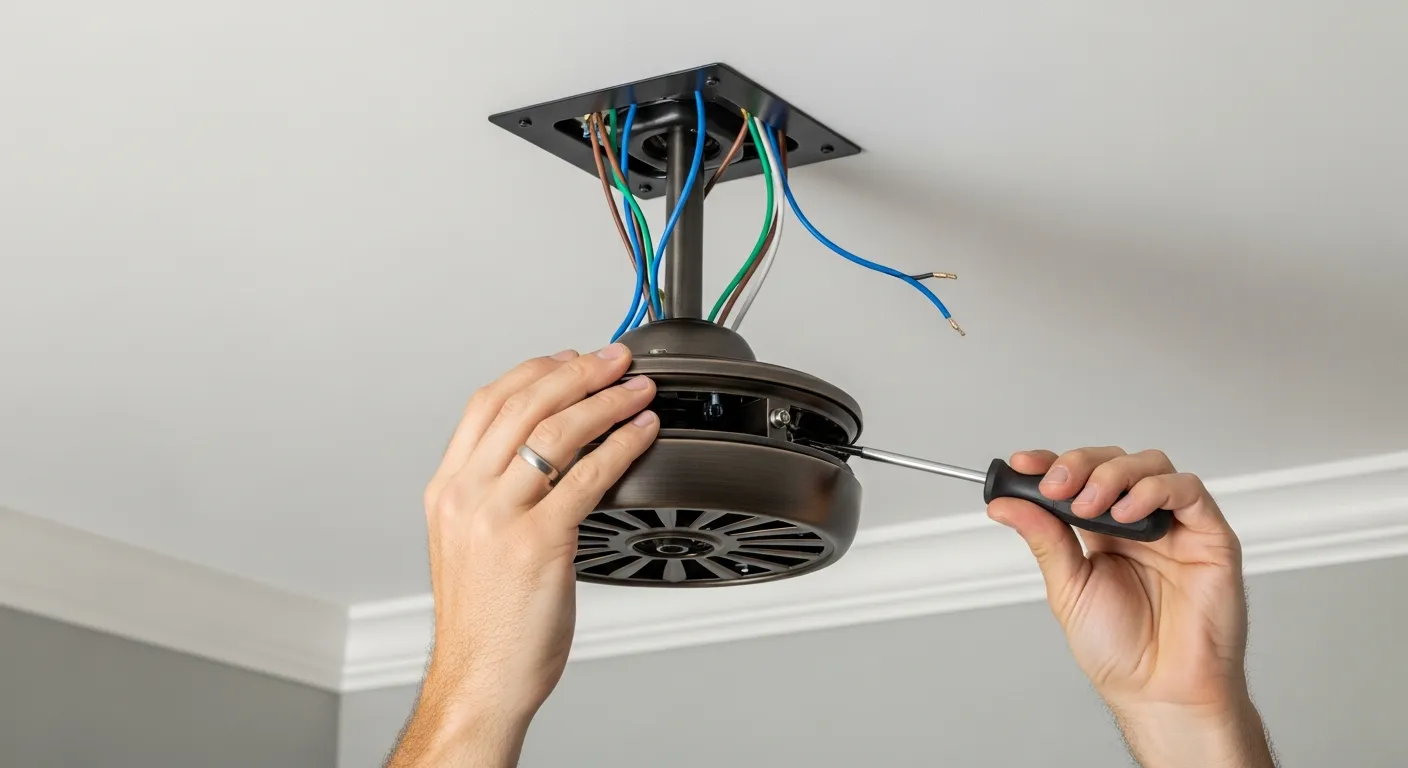
The wire nuts must be removed to separate the fan wires from the wires exiting the electrical box in the ceiling. Once the wires are disconnected, the wire nuts should be replaced.
Any safety chain must be detached. Following this, the fan can be lowered and placed on the ground.
Remove the Mounting Bracket From the Ceiling
After the fan is down, the next and final step is removing the mounting bracket from the ceiling. Most mounting brackets are attached to the ceiling electrical box with two screws, which should be removed before mounting. After removing the bracket, reinstall these screws into the electrical box. This keeps them available for the next fixture.
The mounting bracket must be removed, even if you plan to install a new fan, because each model comes with its own bracket.
Conclusion
Removing a ceiling fan requires patience and careful attention to safety. However, this task can indeed be completed without professional help by following the given steps. With the right tools, it is easy to remove it safely and carefully.